It’s springtime! And what better way to spruce up your garden by creating these DIY Rustic Terracotta Pots!
I might not have a green thumb; but for the past 4 years, I’ve been trying to learn how to keep plants (alive). So far I would say I have a 95% success rate. Which is not bad, considering I was a complete newbie to begin with.
However, there is a downside to my newfound abilities. I’m now completely plant obsessed and there’s nothing I love more than trawling around the garden centres during weekends to see what weird and wonderful plants I could take home.
Of course, more plants means more pots! A couple of years ago, I created my own Spanish style wall planters. So this time, I wanted to make something a little different, something rustic to put my new plants in. For this quick project, you don’t need anything expensive, just some terracotta pots, and tools that you probably already have at home. Check out below how I did it!

DIY Rustic Style Terracotta Pots

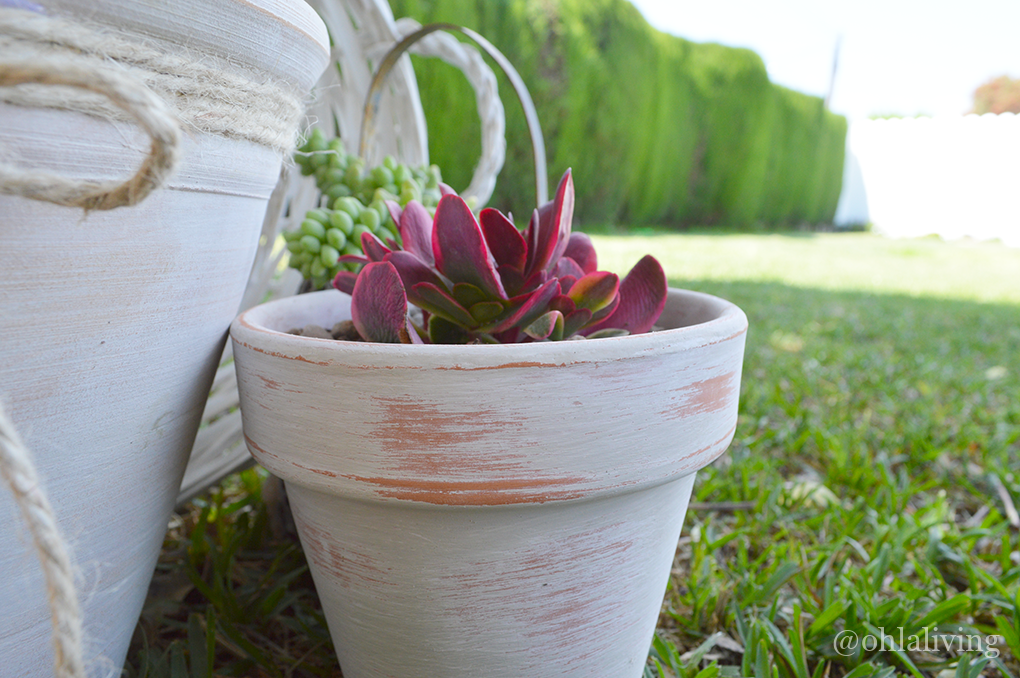
How To Make Rustic Terracotta Pots Using Chalk Paint
For this project, you will need some terracotta plant pots, a jar/tin of chalk paint, a paintbrush and a sanding block. There are many chalk paints to choose from, and I really like them because are easy to work with. They do not require much prep work and can be used on almost anything. Last year I transformed an old sideboard and bistro set using chalk paint, they have turned out better than I expected.
I started out by choosing my plant pots. In Spain, you can get them anywhere, they’re cheap especially from local garden centres. You can choose whatever shape you want, I went for the traditional pots and a large terracotta vase.
What you will need:

- Terracotta pots – any shaped terracotta pots.
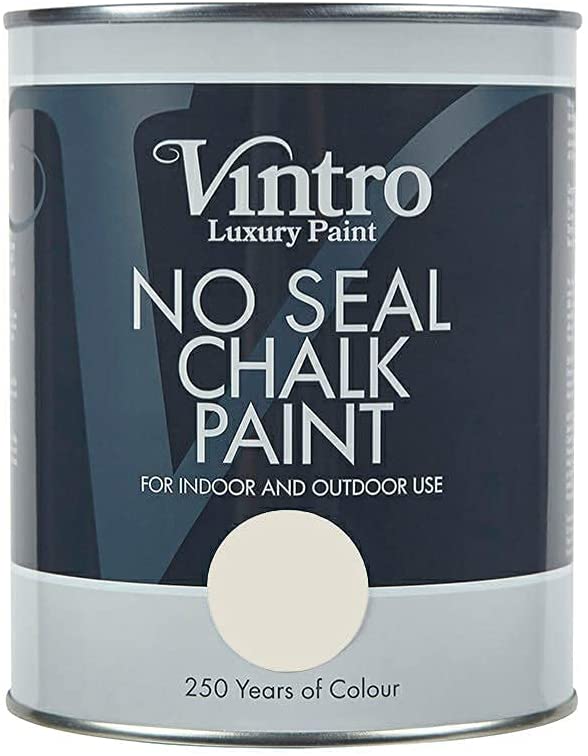
- Chalk paint – I used Amelie Prager chalk paints.
- Natural bristle brush – You can use any type of paintbrush but I used a natural bristle brush, it’s better for getting the effect.
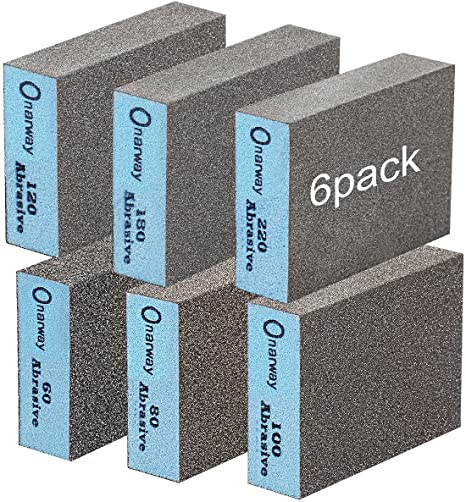
- Sanding block – to give the pot a weathered effect.
- Jute twine – this is optional, I used this to give my pots a little bit more character.
- Glue gun – if you want to wrap your pot with twine you will need something to hold it down. As I already have a glue gun, I used that.
- Old newspaper or bin bag – for protecting surfaces.
Step 1 – Prepping the pots
If you have new pots, you don’t need to clean them. Just make sure that it’s free from dirt or any kind of debris.
If you are using an old pot, remove any existing dirt or paint. Wash the pot well with normal dish soap, using a brush or scourer scrub the inside and out. Allow to dry, then it’s ready to use.
In a small pot, water your paint down a little bit, the consistency should runny enough to run off your paint blush slightly. Remember a little goes a long way, so don’t get too excited.
Use a small brush, I used a 2″ flat brush. If you have a bigger pot then you can use a bigger brush. Begin to paint the pot around the outside. Use light strokes, you don’t need to be careful at this stage. You want your pot to look rustic/whitewashed.
Hold the lip of the pot and paint horizontally around the outside. When you have done the outside, set it down and carefully paint it around the lip, including the inside of the pot. You don’t have to paint all inside, just halfway is fine. When you are happy with the look of your pot then set it aside to dry for at least 30 minutes.
Step 2
Once the pot is dry use a sanding block to lightly sand away the paint. You want the pot to look weathered, so you can style it to whatever you please. If you are happy with your pot and don’t wish to add the rope around it, then you can stop at this stage. Your plant pot is ready to use.
If you want to add an extra touch to your pot you can add twine around the rim like what I did on Step 3.

Step 3
To add a bit more character to my larger pot, I wrapped the top section with twine. Glue the end of the rope on the pot, and wrap it around. You can use the glue as you go along making the rope secure. That’s all to it, your new rustic plant pot is ready to use!

Rustic Style Terracotta Pots Using Chalk Paint
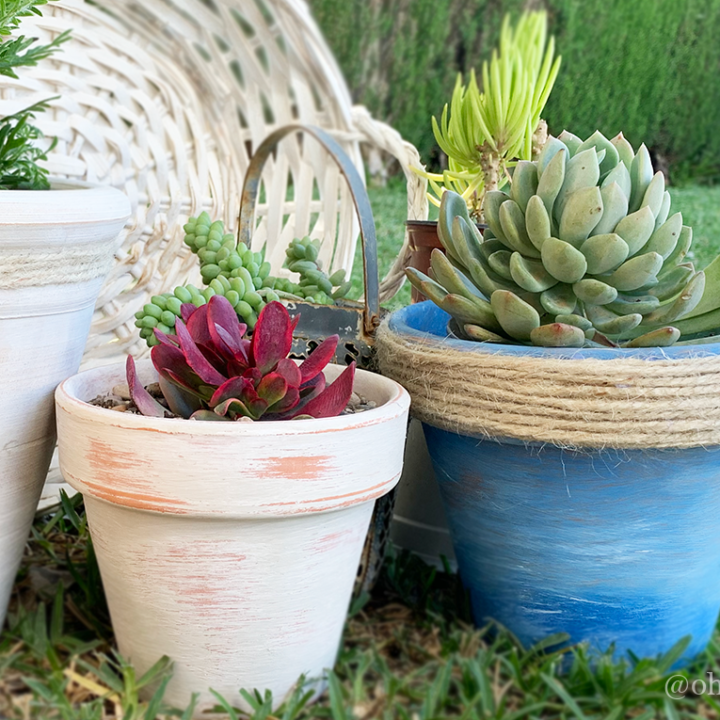
What better way to spruce up your garden this spring by creating these DIY rustic style terracotta pots!
Materials
- Terracotta pots
- 1 pot white chalk paint
- 1 natural bristle brush
- 1 sanding block
- 1 roll jute twine
Tools
- Glue gun
- Old newspaper or bin bag – for protecting surfaces.
Instructions
- Protect your work surface by placing an old newspaper or binbag.
- In a small pot, water your paint down a little bit, the consistency should runny enough to run off your paint blush slightly.
- Begin painting the pot around the outside. Use light strokes, you don’t need to be careful at this stage. You want your pot to look rustic/whitewashed.
- When you have done the outside, set it down and carefully paint it around the lip, including the inside of the pot. You don’t have to paint all inside, just halfway is fine.
- Once you're happy with the look of your pot then set it aside to dry for at least 30 minutes.
- Once the pot is dry use a sanding block to lightly sand away the paint. You want the pot to look weathered, so you can style it to whatever you please.
- To add a bit more character to my larger pot, I wrapped the top section with twine. Glue the end of the rope on the pot, and wrap it around. You can use the glue as you go along making the rope secure.
- Allow to dry and your pot is ready!
Recommended Products
As an Amazon Associate and member of other affiliate programs, I earn from qualifying purchases.
What plants are ideal for terracotta pots?
Terracotta plant pots are ideal to use for plants that don’t require much watering. Plants such as succulents, cacti, bougainvilleas, and geraniums are perfect. So if you decide to make these, bear that in mind, as I’ve made this mistake when I first started by putting plants that are unsuitable for terracotta pots and wondered why they died on me. 🤦🏽♀️
How you can protect your pots
Terracotta pots are made from clay therefore they are porous. If your pots are kept outside then it’s a good idea to seal them using a suitable sealant. This will prevent the paint from fading and cracking when exposed to the elements. You can use a clear matte sealant to spray your pot with after painting.
Final Thoughts
If you are looking for a quick little DIY project to spruce up your garden these DIY rustic style terracotta pots are easy to make. You can be creative as you want and most of all they will brighten up any garden! Are you going to try this project for yourself? Let me know if you do, I can’t wait to see them!







1 comment