You do not have to spend money to have ‘new’ things. Why not breathe a new lease of life to your old garden furniture? Check out how to upcycle a wooden bistro set by making it over with outdoor chalk paint.
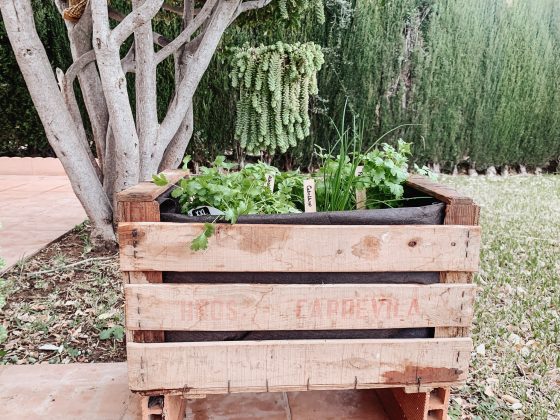
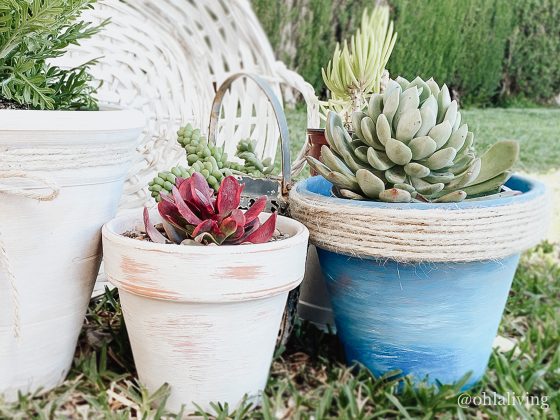
Since lockdown began I found myself trying to achieve some of the things that have been on my ‘to-do’ list. And during this past 4 weeks, not only I have created a range of retro cakes, but I’ve also made a wooden succulent planter.
When we moved into our new place, we inherited a few items from the previous owners. Some things I liked and some not. But I’m not the type of person who likes to throw things away unless I have to. One of the things that we inherited is this wooden bistro set. You can tell it’s had a few hard winters and summers. The varnish has come off, and it just looks dull and unloved.

How to upcycle a wooden bistro set
*** Some of the links in this post are affiliate links. This means if you click on the link and purchase the item, I will receive an affiliate commission at no extra cost to you. All opinions remain my own. ***
For a couple of years, I’ve been thinking about transforming our weathered bistro set into something a bit more lovable. We have very hot summers, wet months, and in the winter it can get below freezing. I needed a paint that can withstand the elements as well as making it look nice. After being happy with the result of my interior doors makeover I decided to use Frenchic paint again.
The tools I used
- 750ml good quality chalk paint I used ‘Duckling’ from Frenchic Al Fresco range
- 1 medium paintbrush (50mm)
- 1 thin paintbrush (10mm)
- 2 sanding blocks
- 1 sheet medium sanding paper
- sugar soap
- Allen key or screwdriver
- small bags to organise the screws
Prep Before Painting
The table and chairs are in good shape except for the finish, which was peeling and worn away. I decided to sand the surfaces with a very rough sanding block. I plan to sand the large areas first before taking it apart. Though I wasn’t too keen on the extra work, it will make a much better finish.
For this project, I used one rough, one fine sanding block and a sheet of sanding paper. The blocks are ideal to cover a large area while the paper is good for using between the slats. Sanding the chairs took me around 45 minutes to do and the table another 45 minutes. Seeing that the bistro set is only varnished, it was not hard to get the dried flaky bits off.
Once the set is sanded with the rough block, I then sanded it again with the finer block to smooth around areas where splinters have appeared. This also ensures that you have a nice and smooth surface once you start to paint your table and chairs.
As a last step on this preparation stage, I also used an old brush to remove any dust and wood between the slats.
Taking the chairs apart
After sanding the chairs, it was time to take them apart so I can get sand between the hard to reach places. For this, I used a standard allen key or hex key. Ensure to remember which screws go on which part, you can separate them by bagging them as shown on the image below.
The table was fixed and did not have removable parts so it’s a case of ensuring that and hidden areas like the joints are sanded and cleaned them the best that I can.
Cleaning With Sugar Soap
Once the set is taken apart, it’s time to clean it with sugar soap. This will ensure that surfaces are free from dust and grease marks. After wiping down the set, I let it dry for a few hours.
Painting The Bistro Set
This is my favourite part! Opening the tin to see the rich colour it looks amazing don’t you think? This is ‘Ducking’ from the Al Fresco Range. The Al Fresco range is ideal for outdoor use and can withstand the elements. The best thing of all, you do not have to prime it or use a finishing coat (unless you want to of course).
What you paint your set with is completely up to you. I used the recommended Frenchic medium paintbrush to paint the large ages and a small brush for the small nooks and crannies. Do not forget to place a plastic sheet or newspapers on the floor before painting. This will save you time from scraping or cleaning them off the floor later.
Both table and chairs took two coats of paint, allowing each coat to dry for at least half an hour before adding another coat. Once finished I let them dry in our outdoor kitchen for a couple of days.
Tah-dah! A ‘brand new’ wooden bistro set
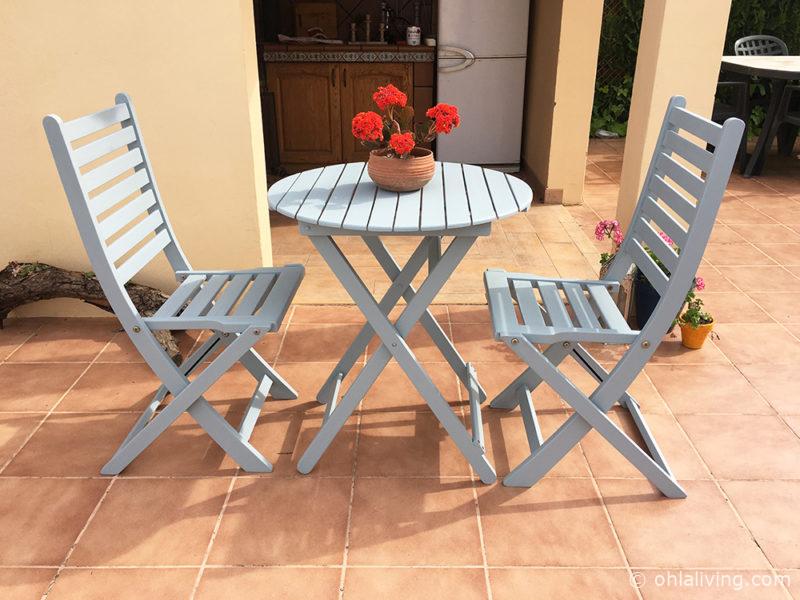
I’m proud to show off my upcycled bistro set! As you can see the colour goes perfectly with our outdoor kitchen. This project took me five days to complete after a couple of rainy days delayed the sanding. I used about half of a 750ml tin and only two coats of paint for everything. So maybe I have enough left to transform the kitchen cupboards doors too!
So there you go, that’s how I transformed our sad and flaky bistro set to something sexy and fresh. Upcycling is a great way to re-use old furniture to something lovable again, you just need inspiration and the right tools. I hope you like my latest project and I hope this post has inspired you to transform a piece of old furniture into something ‘new’ again!


Wooden Bistro Set Upcycle Using Chalk Paint

Transform an old and tired garden furniture by using chalk paint. Check out my upcycle project on a wooden bistro set
Materials
- 750ml good quality chalk paint
- 1 medium paint brush (50mm)
- 1 thin paintbrush (10mm)
- 2 sanding blocks
- 1 sheet medium sanding paper
- sugar soap
Tools
- allen key or screwdriver
- small bags to organise the screws
Instructions
- Prepare your furniture for painting by sanding or removing any varnish, paint or rust.
- Wipe and clean your furniture with sugar soap (see manufacturers instructions on how to prepare this).
- Allow to completely dry before painting.
- Paint your furniture and allow at least 30 minutes of drying time between coats.
- Depending on your furniture and what paint you use it might take one or several coats.
- Allow to dry fully.
Recommended Products
As an Amazon Associate and member of other affiliate programs, I earn from qualifying purchases.


