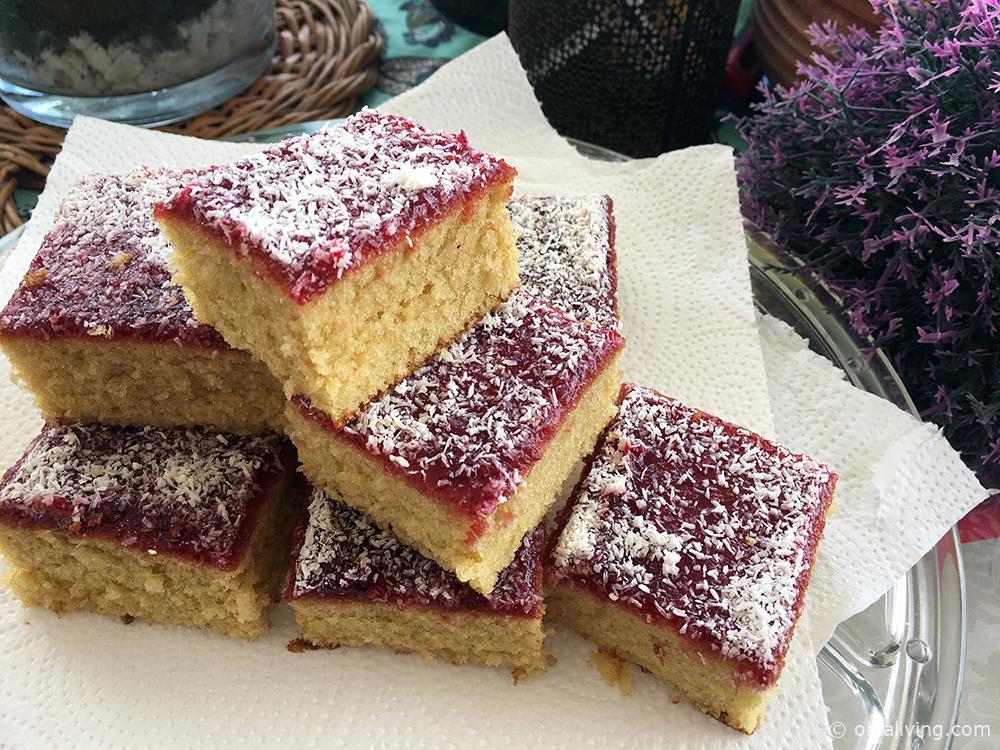
A traditional school jam and coconut tray bake that I’m sure you will love. Made with super soft sponge with a jam and coconut topping, I promise it’ll be hit with everyone.
On this post, I’m sharing a recipe that’s my kids totally love: the Traditional School Jam and Coconut Tray Bake. But, this isn’t just any old cake—it’s a taste of nostalgia, a slice of childhood memories, and a whole lot of yum packed into one delicious treat.
Remember the Retro Sprinkle Tray Bake that went viral during lock down? Well this recipe is made from the same method, but with a few minor modifications. I used raspberry jam and coconut for the topping, but you can also use strawberry depending on your preference or whatever you have available in the cupboard. Some people prefer to use jams without the seeds or bits, but I prefer my topping with extra texture.
So, are you ready to roll up your sleeves and get baking? Great! Let’s dive in and learn how to make a Traditional School Jam and Coconut Tray Bake that’ll have everyone asking for seconds. Trust me, it’s going to be a delicious adventure you won’t want to miss!
Why you’ll love it
Super soft, buttery vanilla sponge with a sweet jam and coconut topping, this jam and coconut cake recipe is so moist and based on the viral old school sponge cake that I made during lock down.
If you dont want to use raspberry jam, then go with your favourite alternative, its as easy as that. This is a perfect crowd pleaser that suit any occasion, whether it’ll be a birthday, local garden fete or just because you fancy a little bit of old school nostalgia!
How To Make A Traditional School Jam and Coconut Tray Bake
This recipe features a simple sponge cake mixture that’s incredibly easy to whip up. The key lies in having the butter at room temperature. When pressed for time, I recommend cubing the butter and allowing it to sit in the mixing bowl for at least thirty minutes. This step significantly help the creaming process.

Butter Or Margarine?
If butter isn’t on hand, margarine is an acceptable alternative. Nonetheless, it’s worth noting that butter’s higher fat content gives the cakes a richer texture.
Caster Sugar or Granulated Sugar
Choosing caster sugar over granulated sugar can enhance the lightness and fluffiness of your cakes due to its finer texture. However, if granulated sugar is what you have on hand, it works just fine too. Personally, I lean towards caster sugar for that extra touch, especially for special occasions. But when granulated sugar is all you’ve got in the pantry, it still does the job well.
Self-raising or Plain Flour
Self-raising flour is your top pick for this recipe, but if plain flour is all you’ve got, don’t worry! Just mix 4 teaspoons of baking powder into 300 grams of plain flour, and you’ll get the same fantastic outcome.
How many eggs shall I use?
I usually go with 5 eggs for this recipe. As you’re creaming the butter and sugar, add the eggs alternately. If want to use less eggs then 4 is OK and use medium eggs, they’ll work just fine; simply add a touch more milk if the consistency seems thick. Be cautious not to over-cream the butter and sugar, as this can lead to the mixture curdling or separating. Keep your electric mixer set to medium speed to prevent this from happening.
Can I make cupcakes with this recipe?
Yes of course, you can divide the mixture in cupcake cases if you wish. The baking time will be less so take note that for smaller portions like cupcakes cooking time will be about 12-15 minutes.
Troubleshooting
My cake is taking far too long to bake
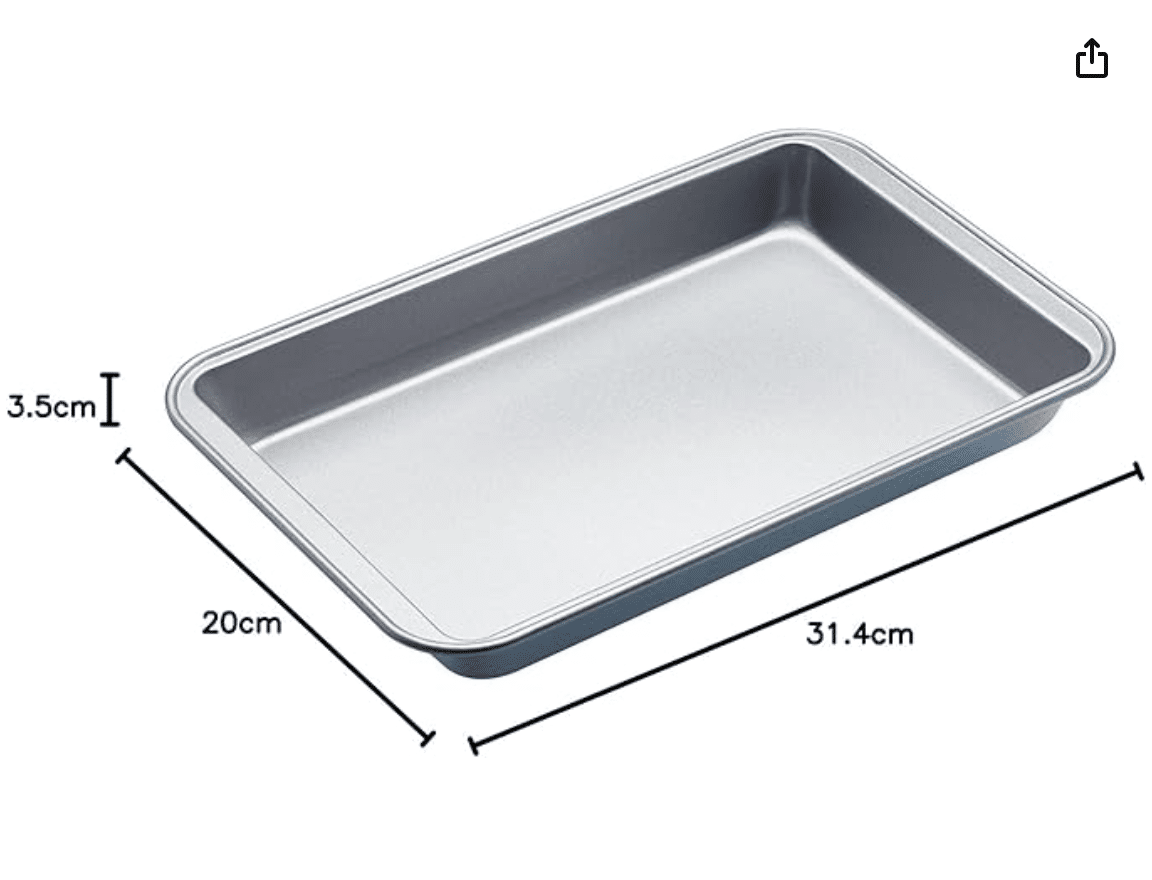
Selecting the right tray bake tin is key to ensuring your tray cake cooks perfectly within the recommended time. If you find yourself without the exact tin size, simply be prepared to adjust the cooking time accordingly; it may require a few extra minutes in the oven.
My cake did not cook in the middle!
Choosing the right baking tray size matters. If you opt for a smaller tin, expect your cake to require a bit more time in the oven. Just remember to tweak your cooking time accordingly based on the size of your cake tin.
How can I achieve a levelled cake?
Before popping your tray into the oven, give your cake a few gentle taps to even out the mixture. It’s a simple trick I swear by for getting a perfectly level cake, perfect for icing later on.
For a flawless outcome, it’s crucial to stick to the recipe instructions. Ensuring your butter is at room temperature is key to achieving that soft, spongy texture.
Creaming your butter and sugar thoroughly is a vital step in the process. Keep at it until the mixture is light and fluffy—it makes all the difference!
How do you store Coconut and Jam Tray Bake?
Keep your sprinkle cakes cozy at room temperature to maintain their freshness. Steer clear of popping them in the fridge, as it could dry out the cake. But if chilling is unavoidable, store the cake in a sealed container and let it rest at room temperature for half an hour before serving to bring back its delicious taste and texture.
Can you freeze Jam and Coconut Tray Bake?
Absolutely! Freezing your coconut and jam cake is fine. Just wrap it in two layers of cling film.
Traditional School Jam and Coconut Tray Bake

An old recipe back that reminds us of school days. Try this easy to make traditional jam and coconut tray bake. Serve with warm custard!
Ingredients
Sponge Cake
- 300g butter
- 300g caster sugar
- 300g self raising flour
- 5 large eggs
- 8 tbsp milk
- 1tsp coconut essence or vanilla essence
Cake Topping
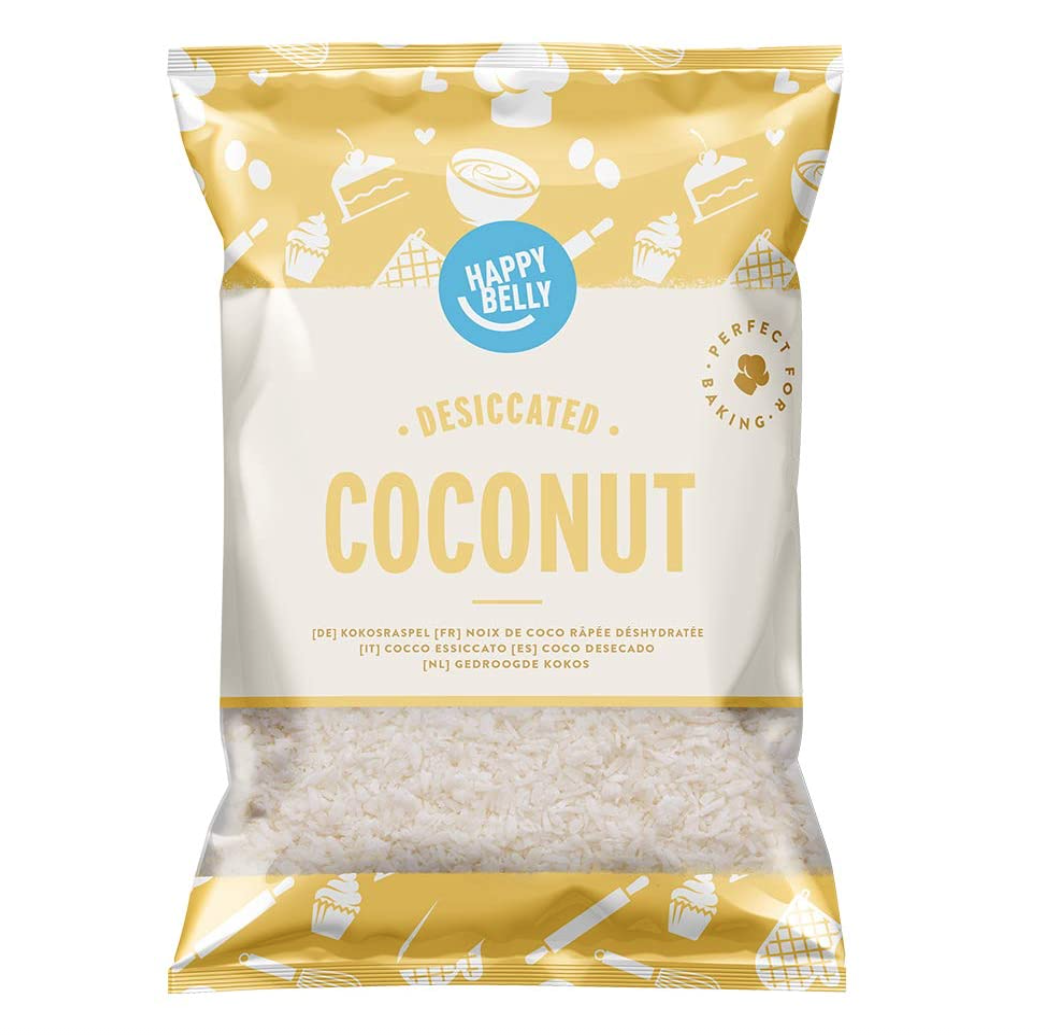
- 25g desiccated coconut
- good quality raspberry jam
Instructions
- Preheat the oven to 160°C (140 fan)/ 325 degrees F or Gas Mark 3.
- Line a 30cm x 23 cm x 3.5cm square tin with greaseproof paper.
- Cream the butter and sugar on medium speed together until smooth. Making sure to add the sugar 2 tbsp at a time. Adding the eggs one by one.
- Once all the eggs have been added, add in the flour using 2 tablespoons at a time to make sure the mixture is smooth.
- When all the flour is added, add the vanilla or coconut essence and mix well.
- Add the milk 2 tablespoons at a time, mixing in between.
- Pour the sponge cake mixture into the tray and bake for around 30-45 minutes.
- Keep an eye on the cake until it turns golden brown. You can see if the cake is done by sticking a toothpick or a knife into the middle of the cake. If it comes out clean then your sponge cake is done.
- Leave the cake to cool in the tin for about 15 minutes before turning it out onto a wire rack.
- Once the cake has fully cooled down, make the topping by spreading the raspberry jam evenly across the top of the cake.
- Sprinkle the rest of the coconut across the top of the cake.
Notes
If you want a lighter sponge, add a little bit more milk in the mixture.
Recommended Products
As an Amazon Associate and member of other affiliate programs, I earn from qualifying purchases.
Nutrition Information:
Amount Per Serving:








22 comments
Thankyou for the memories x xxxx now x we can beat lock down with cake thankyou
Hi. Would this work with coconut flour? I am gluten free so trying to look for alternatives to regular flour. Thanks😊
Hi Kerry, I am not sure if it’ll work with coconut flour as I have not used it before. Though I might try to use a flour alternative next time I make this recipe, as I have a few people requesting a gluten-free version. Sorry, I’m not much help.
Could you use coconut milk instead of full fat milk?
Hi Dawn, though I have not tried using coconut milk, I cant see why it won’t be OK to use it. 🙂
Hi it says sprinkle the rest of the coconut on the top, was I meant to incorporate it into the cake mix? I didn’t see that in the recipe
Can you freeze it?
Hi Maria, Yes the cake is OK for freezing
Absolutely amazing recipe! Thank you. It went down a treat. I just used 250 g of everything so 4 eggs instead. And also used coconut milk as I don’t buy cows milk.
I made this and it came out great. Thanks
Hi how long do you have to bake this for as new to this baking lark.
Thanks Stuart
Hi Stuart, the cake takes around 25-35 minutes to cook, but all depends on your oven and how big the cake is. I would suggest to check it after 25 minutes, and insert a knife in the middle of the cake, if it comes out clean then the cake is done, if not then leave it for longer. I hope that helps 🙂
Perfect sponge recipe! tasted amazing thank you! X
I was dubious about 140 c fan oven for this cake. It took about 45 minutes but the cake came out ok. I had to sit and watch it . Thank you.
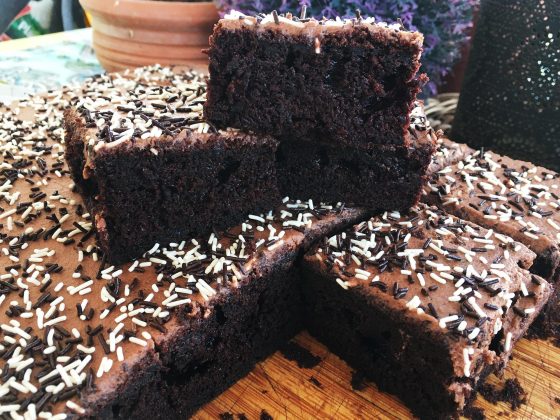
I love this recipe. It is so versatile. I have made the jam and coconut and the sprinkles, I have also made it as a lemon drizzle and chocolate,
Hi Angela! Thanks for the comment and Im glad you enjoyed it. 😊
Hi can this be used for making cupcakes?
Hi Sharon, yes you can divide the mixture in cupcakes. 🙂