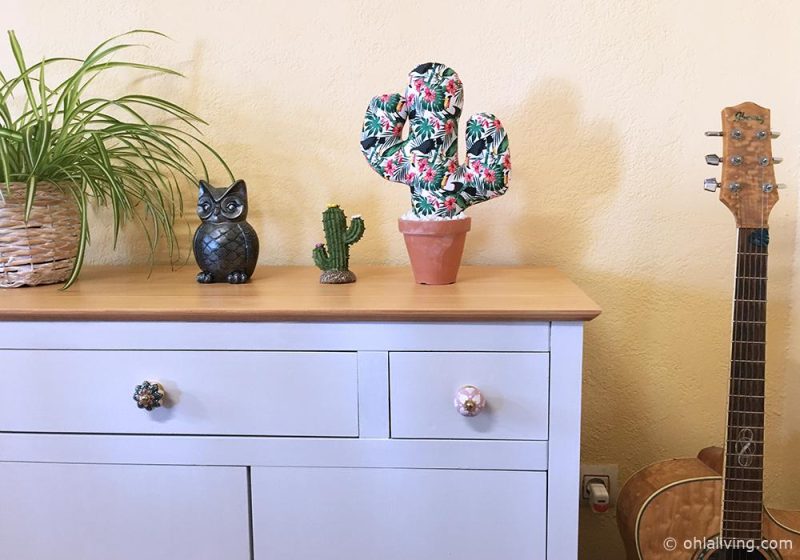
A step by step guide on my furniture project using Frenchic paint. How I transformed an old sideboard to a Moroccan inspired furniture.
I’m excited to share with you this project that I’ve been wanting to do for ages! If you’re a regular follower of my blog, you might have read my other Frenchic projects. My first ever one that I published was the Old Door Makeover Using Frenchic Paint and my latest one was transforming an Old Bistro Garden Set.
On this post, I would like to show you how I have transformed a sideboard that we inherited from the previous owners. Not being the type of person who likes to throw things away just because it’s not to my taste, I’ve decided to transform this old furniture into something beautiful again! Now, I wasn’t sure whether this project will turn out the way I have imagined, but I can only try, right?
First things first. Deciding on what colour I want my sideboard. If you have heard of Frenchic furniture paint before, then I’m sure that you have seen the wide selection of shades they offer. The hardest part is choosing which colour!
I finally decided to go with ‘Wolf Whistle’. It’s in ‘The Lazy Range’ which means it’s ready to use out of the tin. I am based in Spain, so Frenchic is hard to come by. But I found a very reliable stockist based in Portugal and they have a great selection of Frenchic goodies!
Sideboard Furniture Project Using Frenchic Paint
Step One – Filling and sanding the sideboard
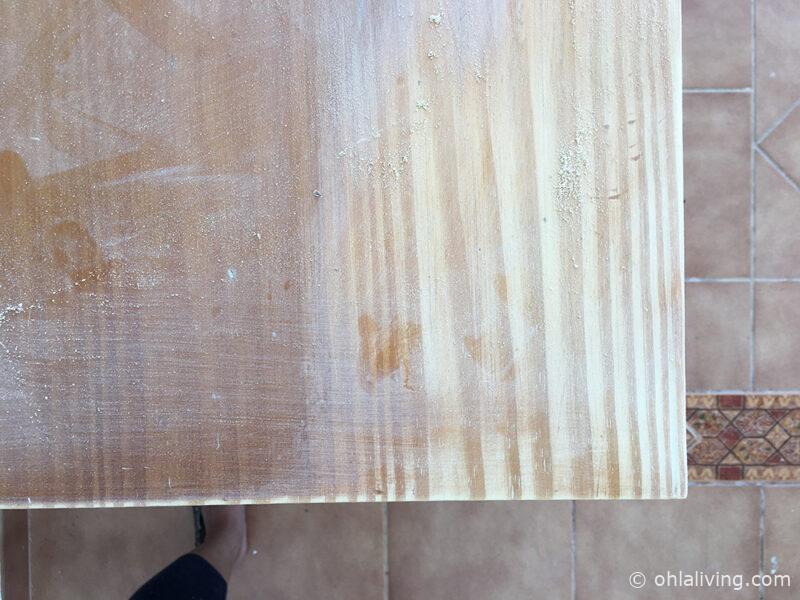
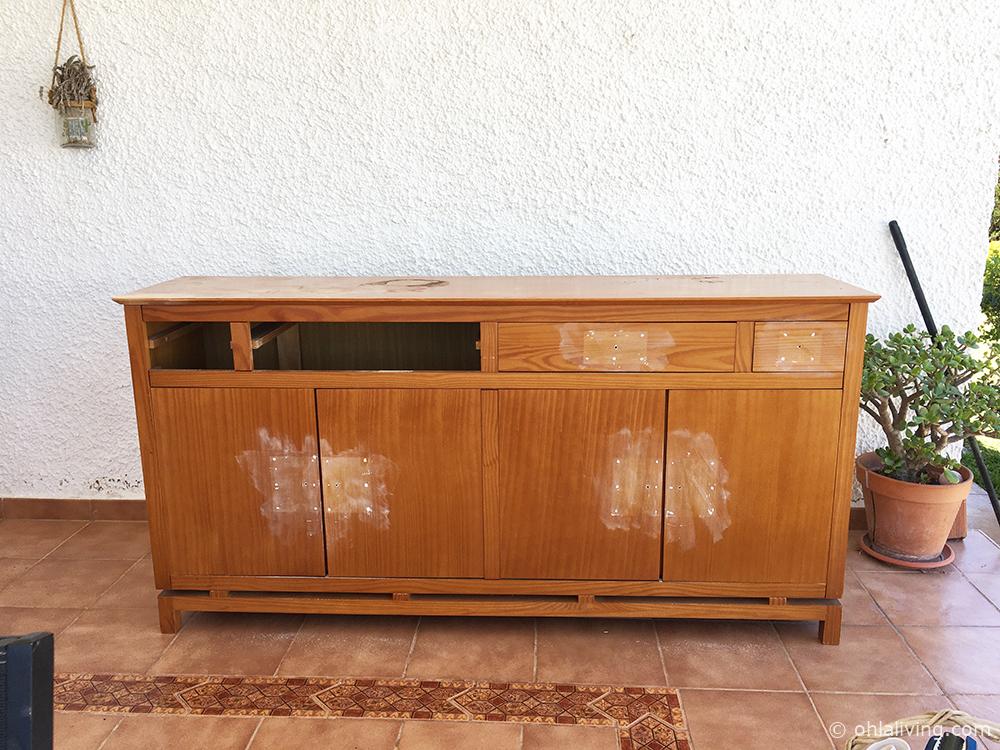
As you can see this sideboard has seen better days. I started with removing the handles and filled in the holes and noticeable dents. Once the filler has dried, I lightly sanded the surfaces and removed any slight marks. I used a regular wood filler bought from my local hardware store. At this stage the sideboard looks unattractive but don’t worry, I promise that it will look great after!
Step 2 – Removing the doors and drawers
I thought about whether to leave the doors in or take them off. At the end, I decided that painting the doors separately would be better in the long run. This was a project that I wanted to do properly, so I didn’t want to use any shortcuts. I unscrewed the hinges and placed the screws in a small bag. It’s important to do this so that you don’t lose any bits and pieces.
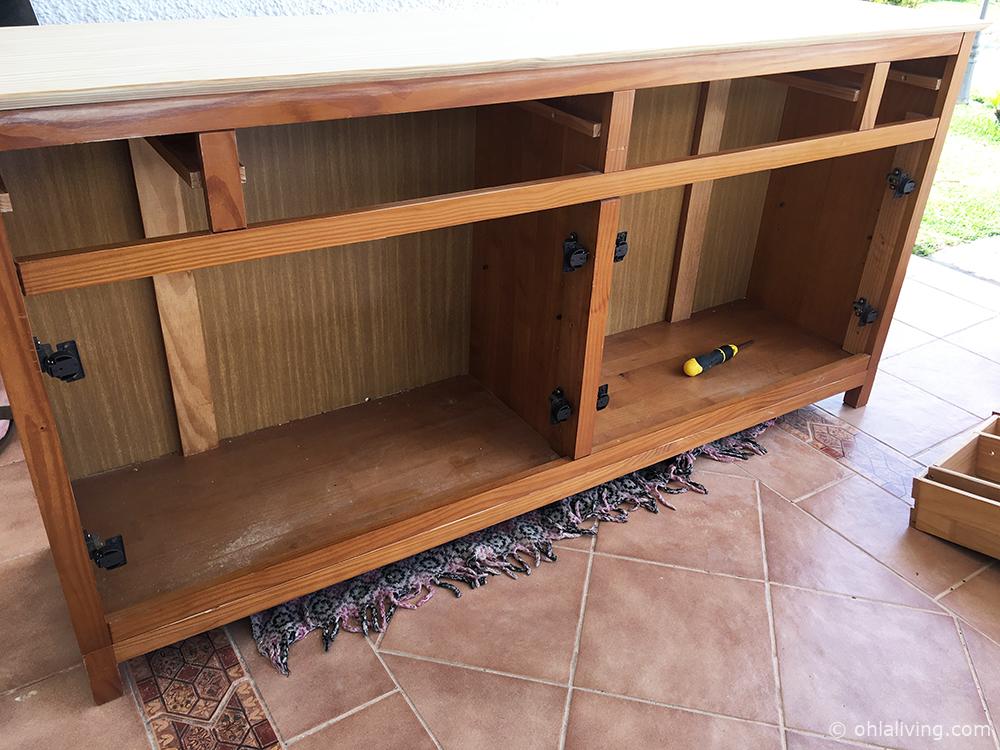
Step 3 – Sanding
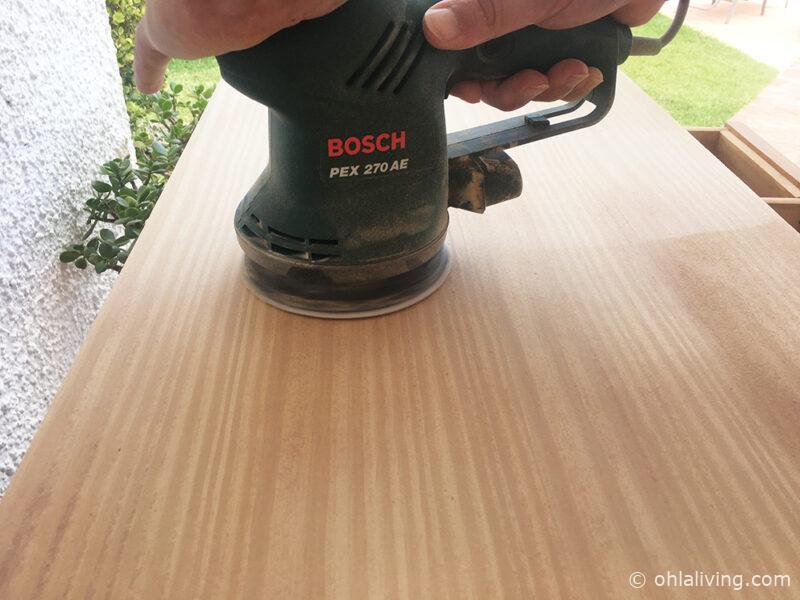
Once the doors and drawers were removed, I sanded the top of the sideboard. I wanted to leave this bare and coat with clear varnish. I used a Bosch orbital sander with a #40 grit (for stripping the varnish off) and #80 grit for a smoother finish.
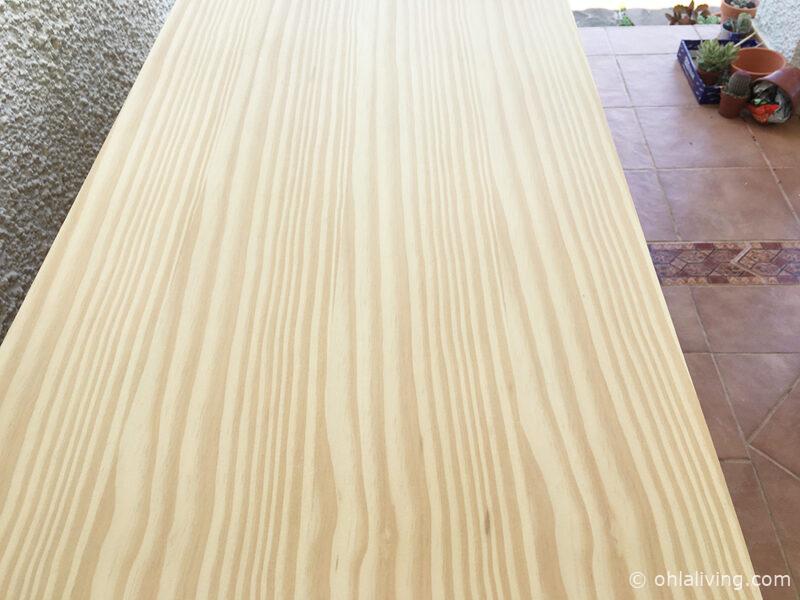
The first step was to remove the varnish which I used a rougher sanding disc (#40 grit). Once the wood is exposed and all the traces of varnish is gone, I switched to a finer sanding disc (#80 grit) to bring out the grain and to give it a smoother finish.
*** Do not forget to sand the drawer and door edges this will prevent them from sticking once you place them back. ***
Step 4 – Painting my sideboard with Frenchic paint
Once the sanding is done. I started with painting the doors and drawers. Unfortunately, I forgot to take photos of this process. Again, the wiped down the surfaces with sugar soap and lightly sanded it. This is an important step, so that the paint adheres well to the wood and prevents the paint from flaking off.
I used the Wolf Whistle from the Lazy Range. The paint is really easy to use. I started with very thin coats and applied it with a sponge roller and used a small Frenchic brush to reach the awkward places. The sideboard and drawers required 3 coats and I allowed at least 1 hour drying time in between coats.
Varnishing the sideboard
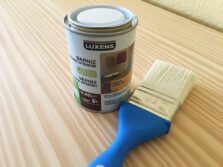
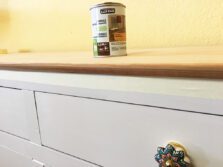
At what stage to varnish is totally up to you. I waited for my sideboard to dry for at least 3 days to varnish the top. I find that using a 250ml tin of clear varnish so more than enough if you are only varnishing the top.
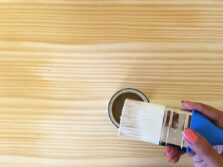
I placed masking tape around the underside of the top as shown on the image below. Ensure that the surface is clean and free from dust. I applied the first coat of varnish with a synthetic paintbrush and waited for 2 hours before applying the second coat.
Step 5 – Choosing the handles
This is the fun part! I wanted my project to have a Moroccan style and have searched the internet for suitable drawer handles. The hardest part is trying to decide which ones would look great. I finally found the ideal drawer knobs from Amazon. Check these out! They’re made from ceramic and handpainted with brass fittings. I couldn’t wait to put them on!

Step 6 – Putting it back together again
I allowed my sideboard to dry completely for 24 hours before putting the doors and drawers back. I also fitted the door handles on, and they fit perfectly!

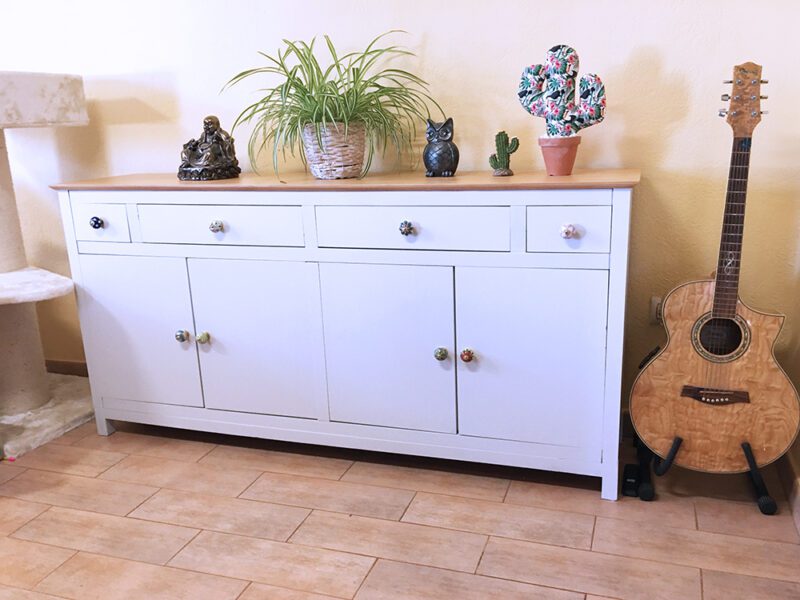
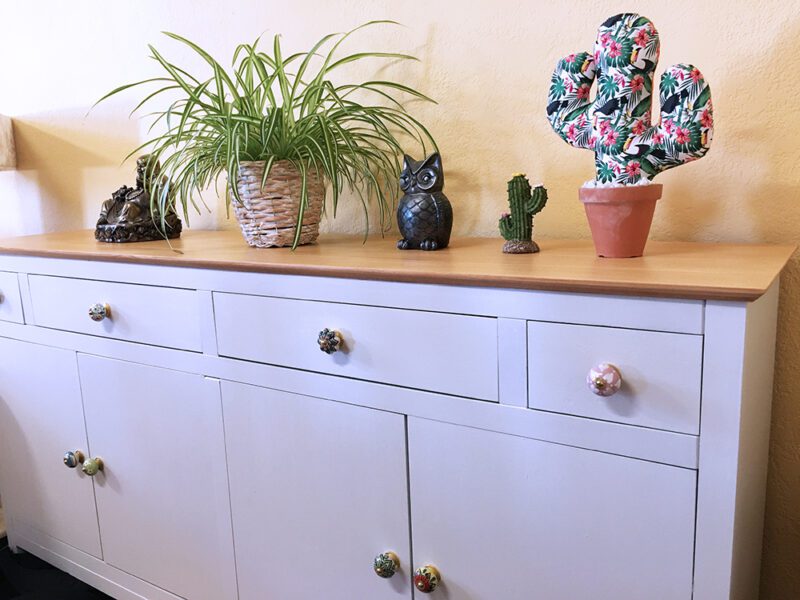
And here it is my latest furniture project using Frenchic paint
I am completely in love with this new sideboard and it’s just how I imagined it would look like. It’s amazing how a little bit of paint a bit of imagination can transform something old into something lovable again. My sideboard transformation using Frenchic cost me just over €80.00.
The paint I purchased for €28.95 from Florentinta. I also bought a new set of sanding discs for my sander which cost €25.00. The varnish was €12.00 and of course the beautiful set of handles were €17.99 from Amazon.
Furniture Project Using Frenchic Paint

A step by step guide on how I transformed an old wooden sideboard using Frenchic furniture paint.
Materials
- Set of drawer handles
- 1 tin of 750ml Frenchic paint
- 250ml clear varnish
- Sugar soap
Tools
- Orbital sander with sanding discs
- Loose sanding paper sheets
- Screwdriver
- Small bags to put the screws in
- Foam roller
- Small or medium chalk paint brush
- 1 medium varnish brush
Instructions
- Remove the handles, drawers and doors.
- Clean the sideboard including the drawers and doors with sugar soap (follow the manufacturers instructions).
- Lightly sand the furniture and fill in any dents and holes with wood filler. Allow to dry.
- Sand the excess filler from the sideboard and wipe down.
- If you want to leave the natural wood finish like I did, sand the top of the sideboard. First with rough sanding paper (40 grit) to remove the varnish. Then use 80 grit to give it a smoother finish.
- Begin to varnish the top of the furniture. Allow to dry.
- Paint the sideboard. It's completely up to you what you want to start with. I started with the doors and drawers first and then the whole unit last. Allow to dry for at least 1 hour before adding another coat.
- Once it's completely dry (I let mine dry for 24 hours), begin to assemble back the doors into their hinges. Then add the handles.
- That's it! Enjoy your 'brand new' furniture!
Recommended Products
As an Amazon Associate and member of other affiliate programs, I earn from qualifying purchases.
Final Thoughts
After a couple of years of pondering whether I should throw this old sideboard out and replace it with a new one, I’m glad that I’ve decided to give it a new lease of life. With lockdown giving me the time to put my creative ideas into reality in return it has also saved me a few hundred euros.
I have used Frenchic furniture paint on a couple of projects and so far I have always been happy with the results. The secret is prepping your surfaces beforehand and ensuring that you have wiped it down with sugar soap and lightly sanded them.
A 750ml tin of paint does go a long way, ensuring your first paint layer and build it up as you progress. I have found that using a foam roller is better if you are painting larger surfaces, as it avoids uneven streaks and gives a smoother finish. This whole project used around ¾ of the tin, so I still have loads left to start another project. The only problem is deciding what furniture project can I do next! 😜

