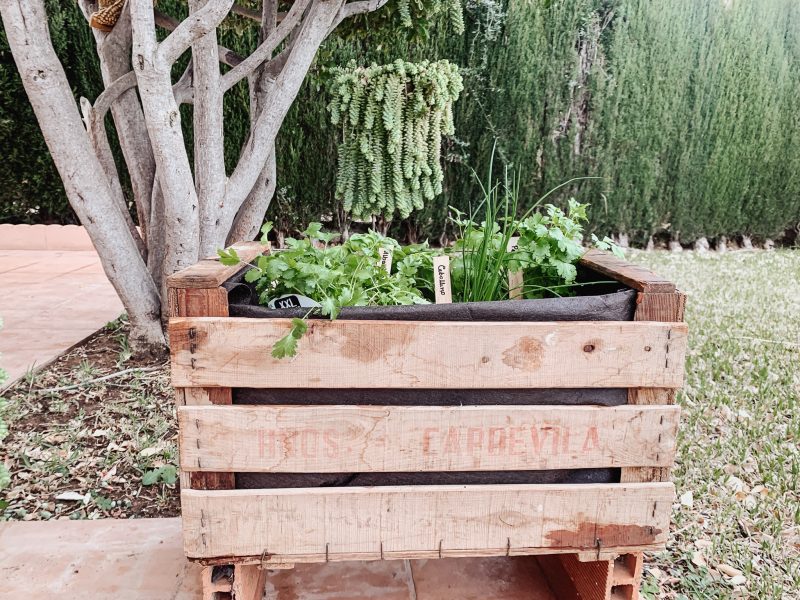
Learn how to make your a DIY herb box garden, a great planter box if you have a small garden, balcony, or just fancy easy access to your favourite herbs. This herb garden is also perfectly suited for outdoor use.
Creating your own herb garden is both practical and rewarding, not to mention a great way to save some extra cash. So, how exactly do you get started with this DIY project? Well, I’ve got you covered with these simple and easy-to-follow instructions. It’s the perfect way to add a touch of beauty and functionality to your life!
Personally, I absolutely love using fresh herbs in all my recipes. There’s something so satisfying about stepping right outside and picking exactly what I need. And let me tell you, creating your own herb box planter, it’s not only eco-friendly but also adds a charming rustic vibe to your space.
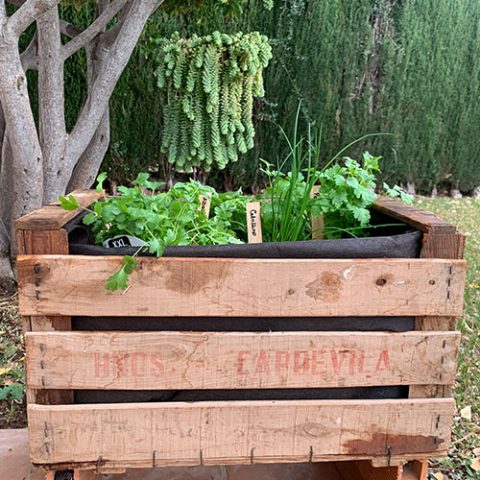
Using a wooden box to craft your outdoor herb planter is a great idea. You can easily find the wood at your local DIY store and leave it as is for a natural look, or give it a distressed finish for a charming vintage vibe that complements your decor. Personally, I lucked out and found a vintage-style herb box that was perfect for my herb garden—I couldn’t have been happier with it! Whatever you style, there are so many options to choose from to make it work for you.🌿
Some of the links in this post are affiliate links. This means if you click on the link and purchase the item, I will receive an affiliate commission at no extra cost to you. All opinions remain my own.
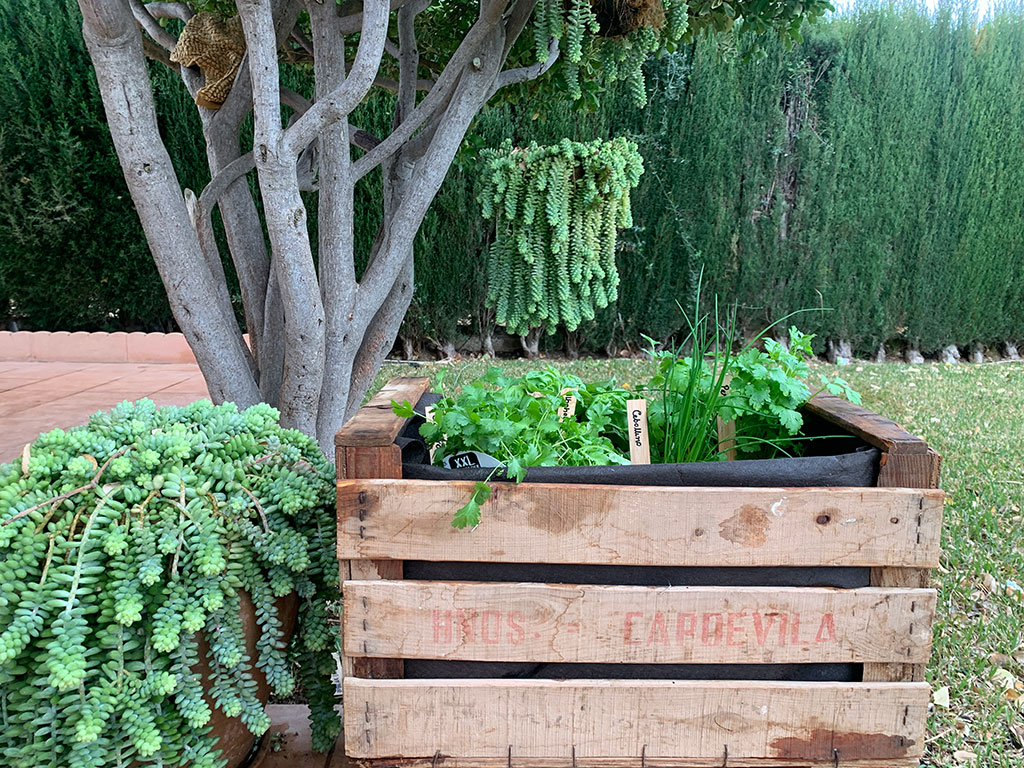
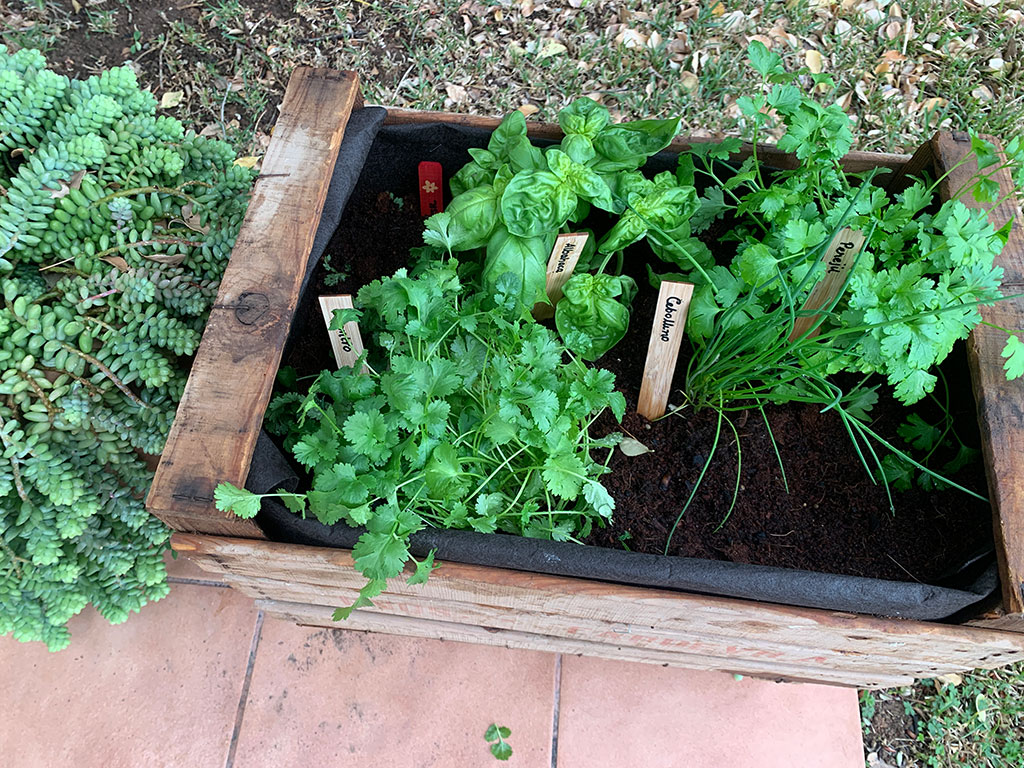
If you’re dealing with limited space, whether it’s a small yard or a compact home, this style of gardening is perfect for you. With box garden, you can even grow more than just herbs—think tomato plants, strawberry plants, and more! It’s a versatile and efficient way to make the most of your available space. 🌱🍅🍓
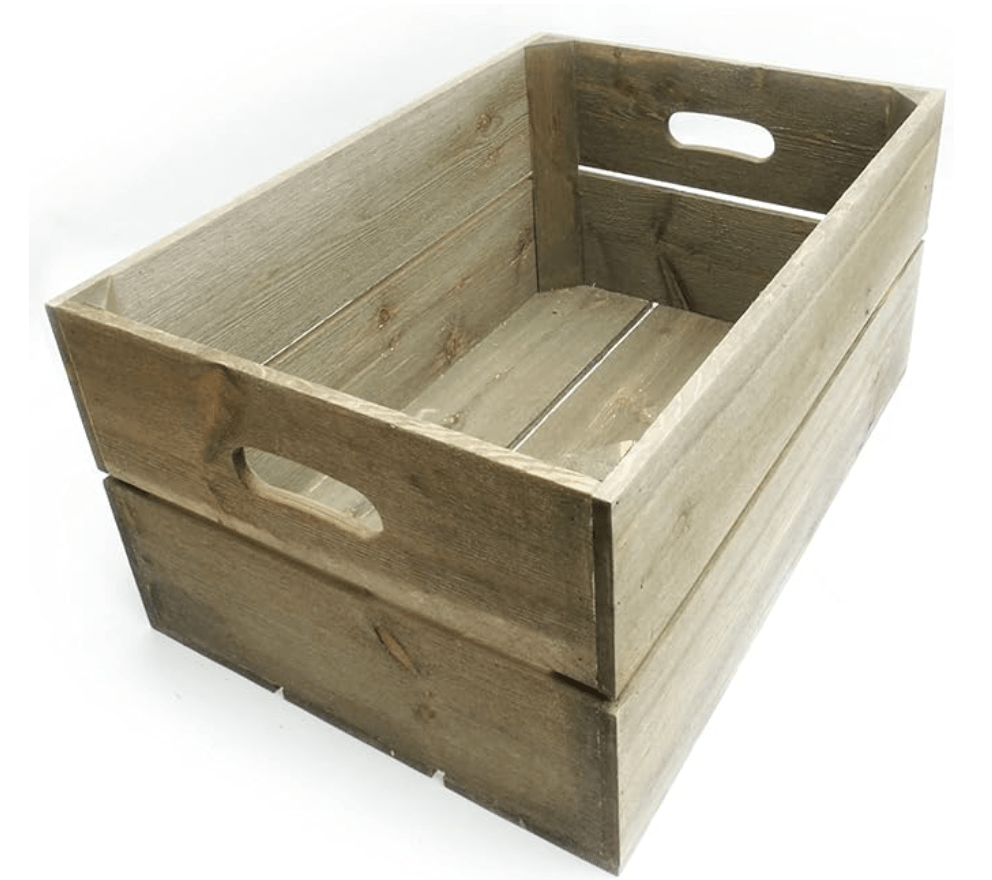
There are many online stores or physical garden centres that sell a ready made herb box. I got mine from Verdecora, and if you’re in Spain you can also buy them from Amazon, check out Huerto Vintage. But if you haven’t found one, or they’re not available where you live, then fear not, I will show you how you can make your own.
Things you will need to create a vintage herb planter
Materials
- A vintage style wooden box (50cm x 33cm x 30cm)
- Fabric Liner
- 5 litre of compost
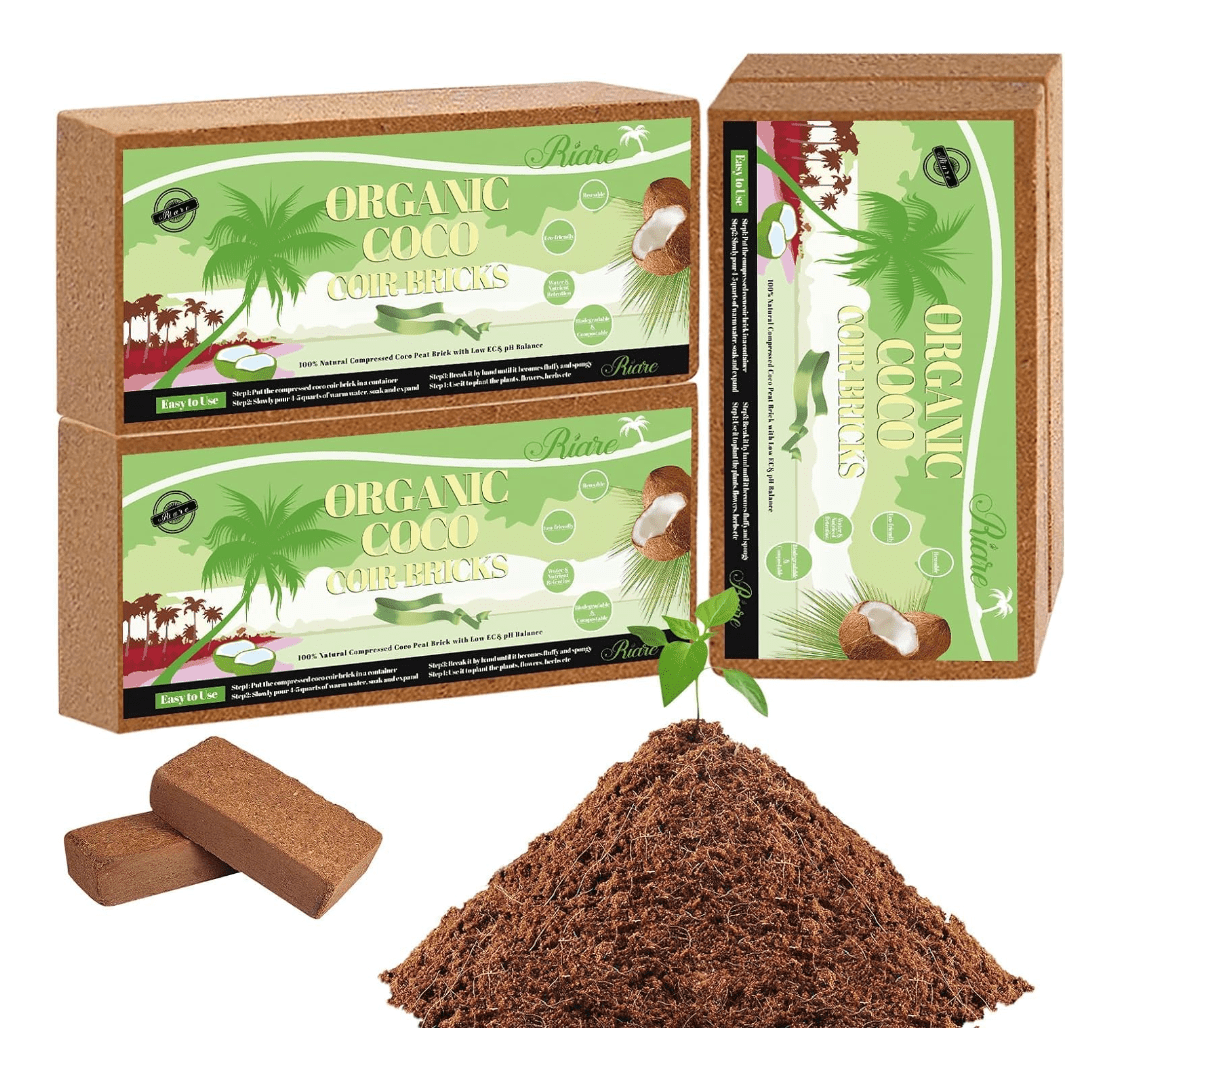
- 4 bricks of coconut fibre
- Guano fertiliser
Tools
- Staple Gun
- Scissors
How to Make a DIY Herb Box Garden
To make an outdoor wooden herb garden, you will need to make sure that your wooden box is treated and can withstand the elements. If your wooden crate is untreated, apply a water sealant to safeguard the wood against moisture and decay. Make sure to choose a sealant that is safe for garden use to protect your plants’ health. Additionally, lining the inside of the planter with a barrier like heavy-duty fabric or plastic liner can offer extra protection against moisture and extend the wood’s lifespan.
Prepare your wooden herb planter
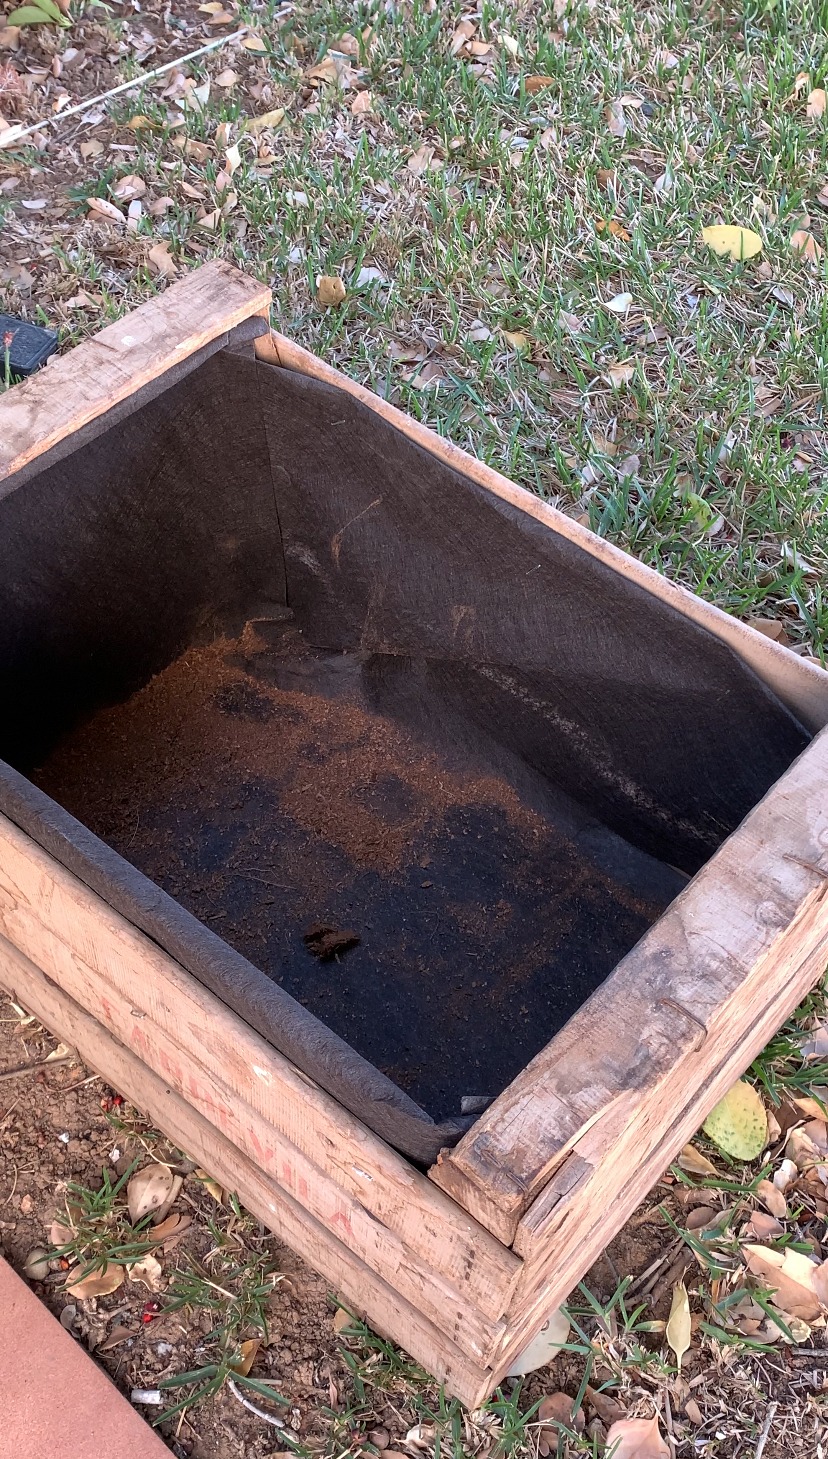
Measure the dimensions of your crate and cut the fabric liner accordingly to fit inside. Then, use a staple gun to secure the liner in place, ensuring a snug fit within your planter. If you plan to keep your herb box outdoors, consider double-lining it to provide extra protection and extend its lifespan.
Prepare the coconut fibre bricks
Soak the Bricks
Place the coconut fibre bricks in a container filled with water. Allow them to soak for several hours or overnight. This will soften the fibres and make them easier to work with.
Break Up the Bricks
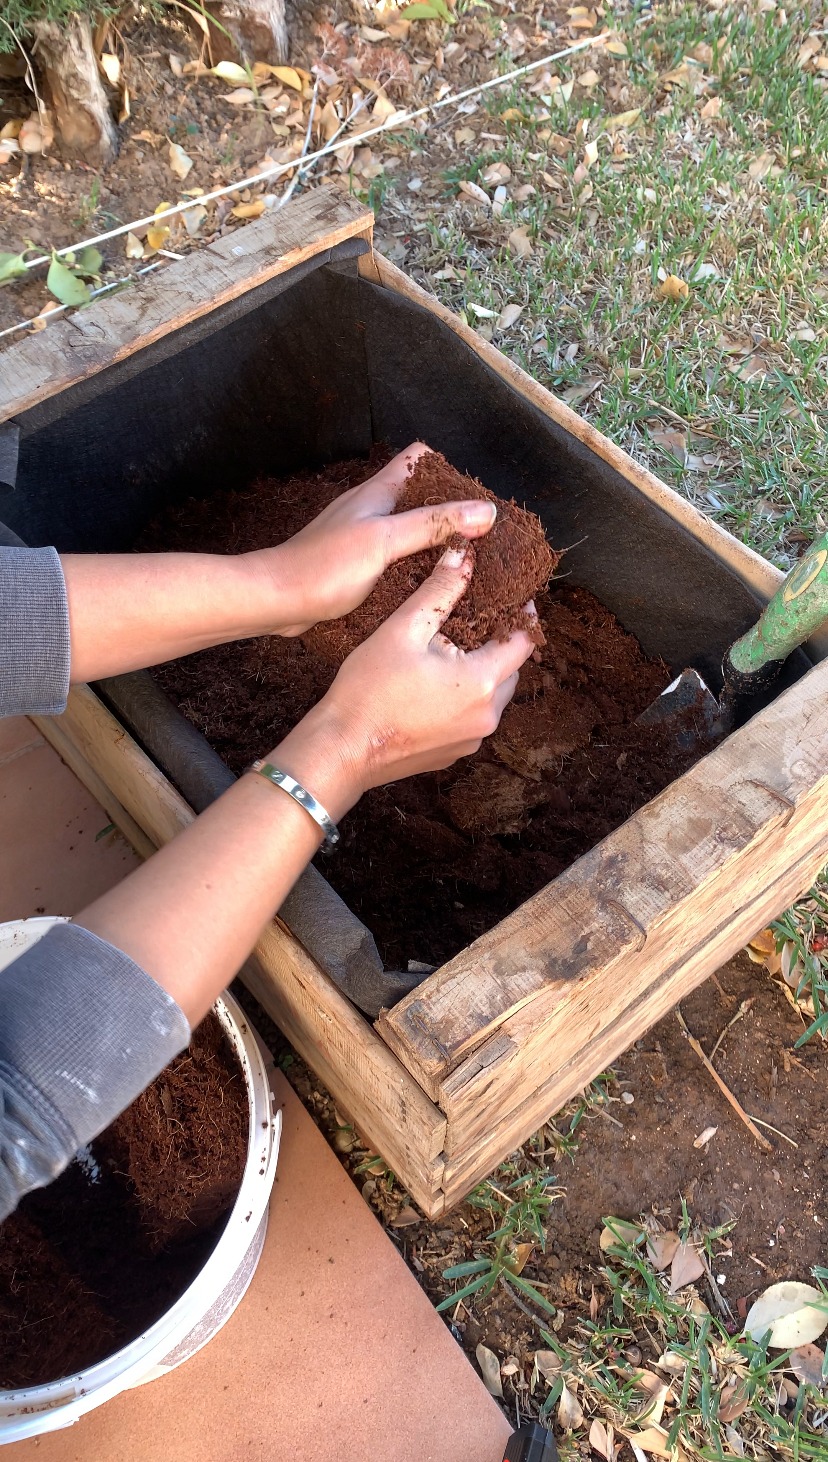
Once the bricks are fully soaked, they will expand and soften. Use your hands or a garden tool to break up the bricks into smaller pieces. This will help loosen the fibres and create a fluffy texture.
Mix the coconut fibre with compost
Mix with Soil
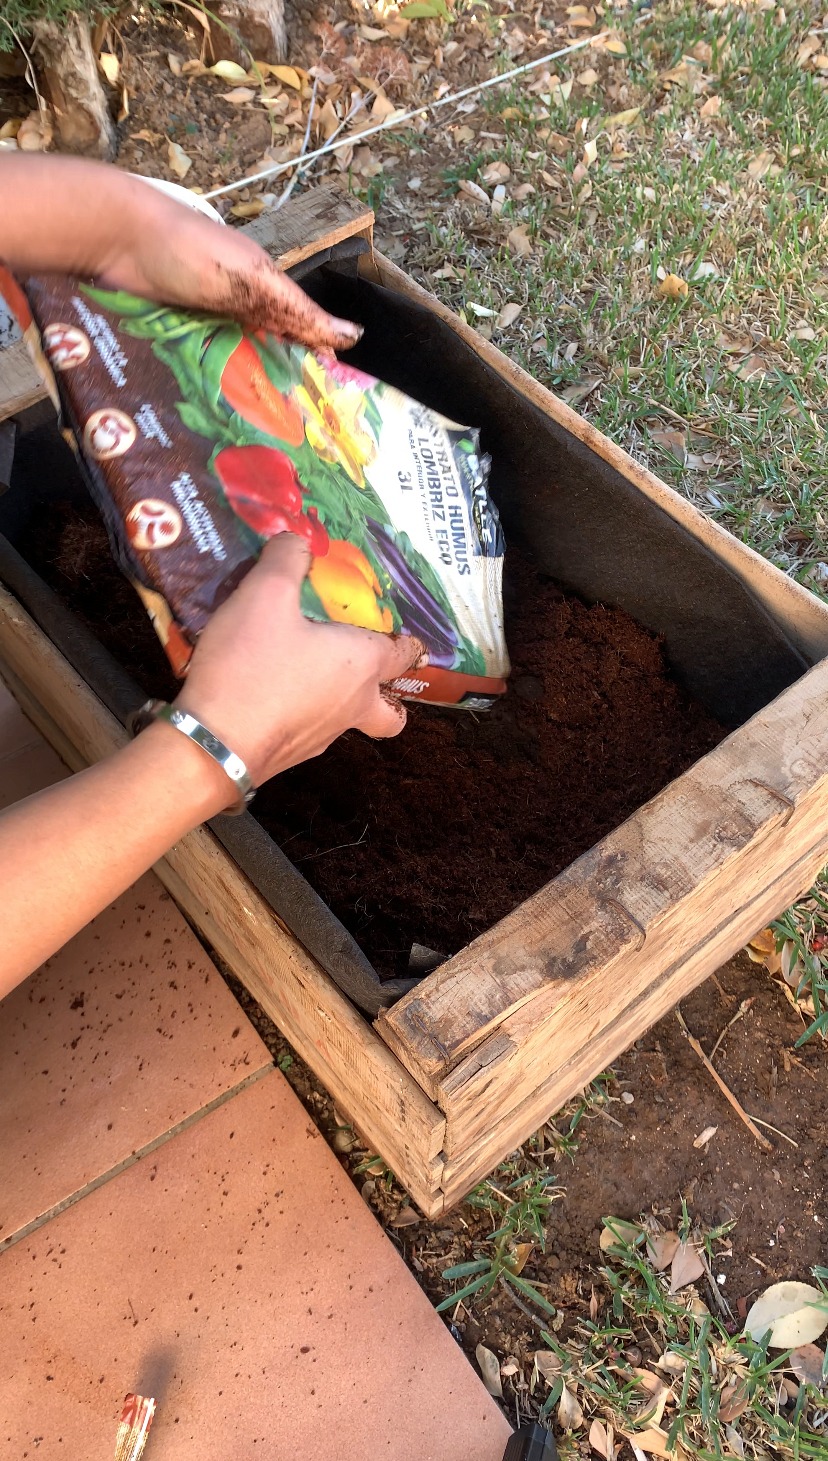
Place your coconut fibres inside the planter and mix it with potting soil in a ratio of about 1:1 or as desired. For my planter, I used a 3 kilo bag of compost with 4 coconut bricks. This combination will provide good drainage and aeration for your plants’ roots.
Fill the Planter
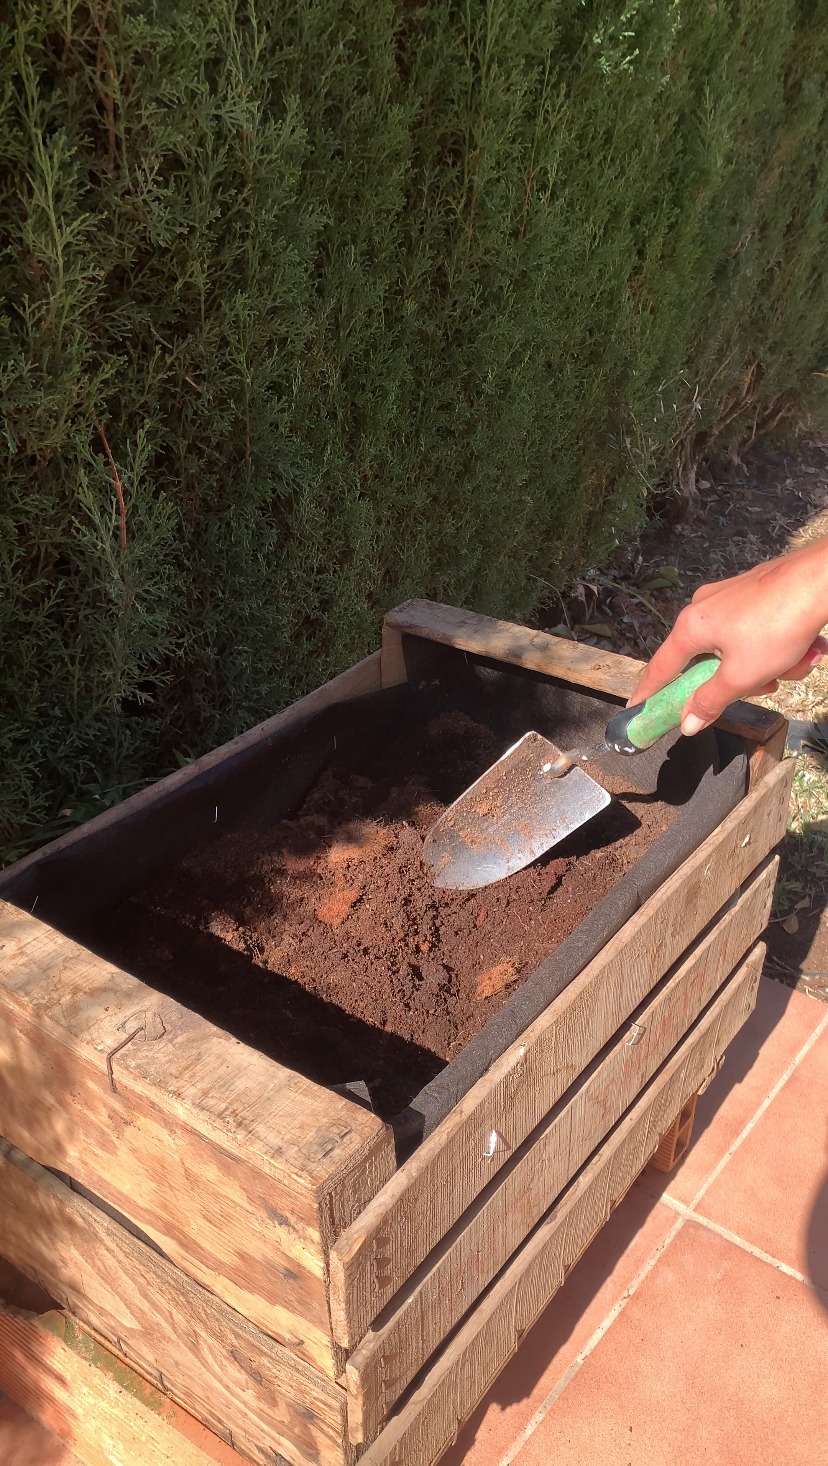
Fill the planter with the mixture of coconut fibre and soil, leaving enough space for your plants. Press down gently to ensure the mixture is evenly distributed and firm.
Water Thoroughly
After placing your compost, water the the soil thoroughly with fertiliser (follow the manufacturers instructions) this will help settle the soil and coconut fibre mixture.
Plant Your Herbs
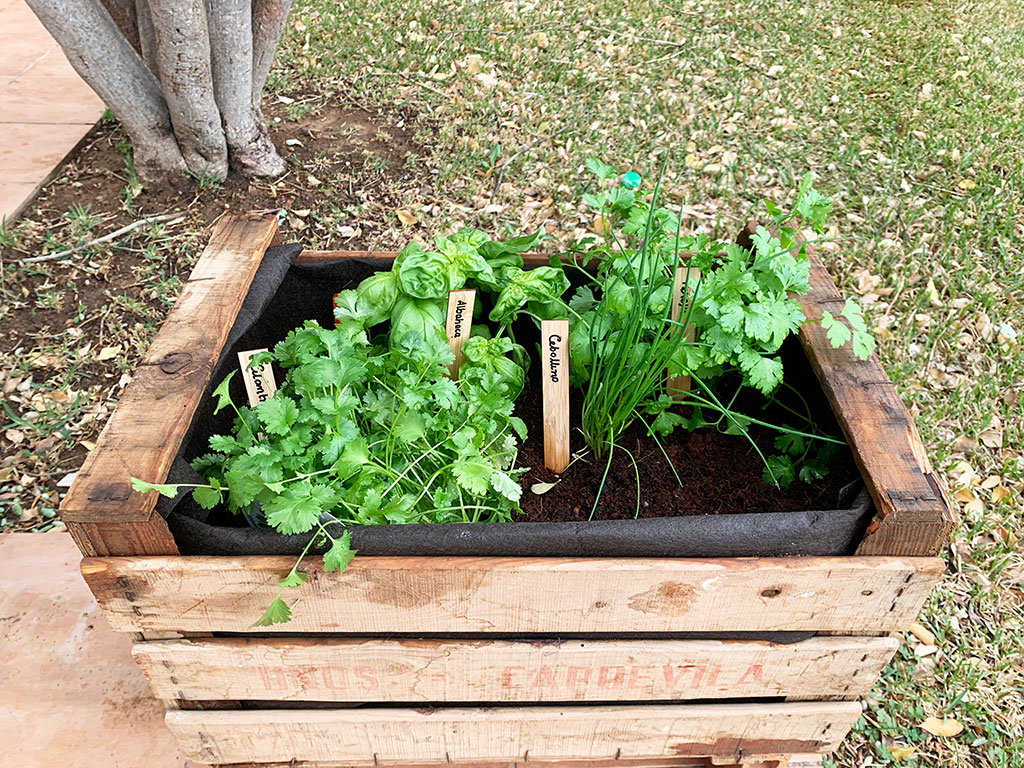
Plant your herbs directly into the prepared mixture, following the planting instructions for each specific herb. Keep the soil consistently moist for the first few weeks but not waterlogged as your herbs establish themselves.
What herbs can I plant together in my herb box
When planting herbs together, consider their individual growing requirements such as sunlight, water, and soil preferences. Grouping herbs with similar needs will help them thrive and make maintenance easier for you. Here are some herb combinations that thrive together:
Basil, Thyme, and Oregano – These Mediterranean herbs enjoy similar growing conditions and can be planted together for a fragrant and flavourful herb garden. However, it’s important to consider the growth habits of each herb. Basil tends to grow tall and bushy, while Thyme and Oregano have a more spreading growth habit. To prevent overcrowding and competition for resources, make sure to give each herb enough space to grow
Rosemary, Sage, and Lavender – These herbs love sunny and well-drained soil, making them ideal companions in a herb box. These herbs also complement each other well visually and in terms of fragrance. Planted together, they can create a lovely and aromatic herb garden.
Mint, Lemon Balm, and Parsley – These herbs enjoy partial shade and moist soil, making them a great combination for areas with less sunlight. However, Mint tends to spread vigorously, so it’s a good idea to use a barrier to prevent it from overtaking the other herbs. Additionally, Lemon Balm and Parsley benefit from regular pruning to encourage bushy growth and prevent them from becoming leggy.
Coriander, Dill, and Chives – These herbs prefer cooler temperatures and can be planted together in a herb box that receives partial sunlight. Coriander tends to bolt in hot weather, so it’s best to plant it in the cooler months or provide some shade during the hottest part of the day. Dill grows tall and may need support as it matures, while Chives have a more compact growth habit.
Lemon Thyme, Lemon Verbena, and Lemongrass – These citrus-scented herbs are a bright addition to any herb box, offering a refreshing twist to your garden. Lemon Thyme spreads low and wide, providing a lush ground cover. Lemon Verbena grows as a shrub and benefits from regular pruning to maintain its shape and fullness. Meanwhile, Lemongrass adds height and vigour to the mix, making it a perfect fit for a herb box.
Planting herbs in a herb box is a wonderful way to create a garden that is both beautiful and functional. If you’re eager to get started and don’t want to wait for seeds to grow, you can easily find pre-grown herbs at your local supermarket or garden centre.
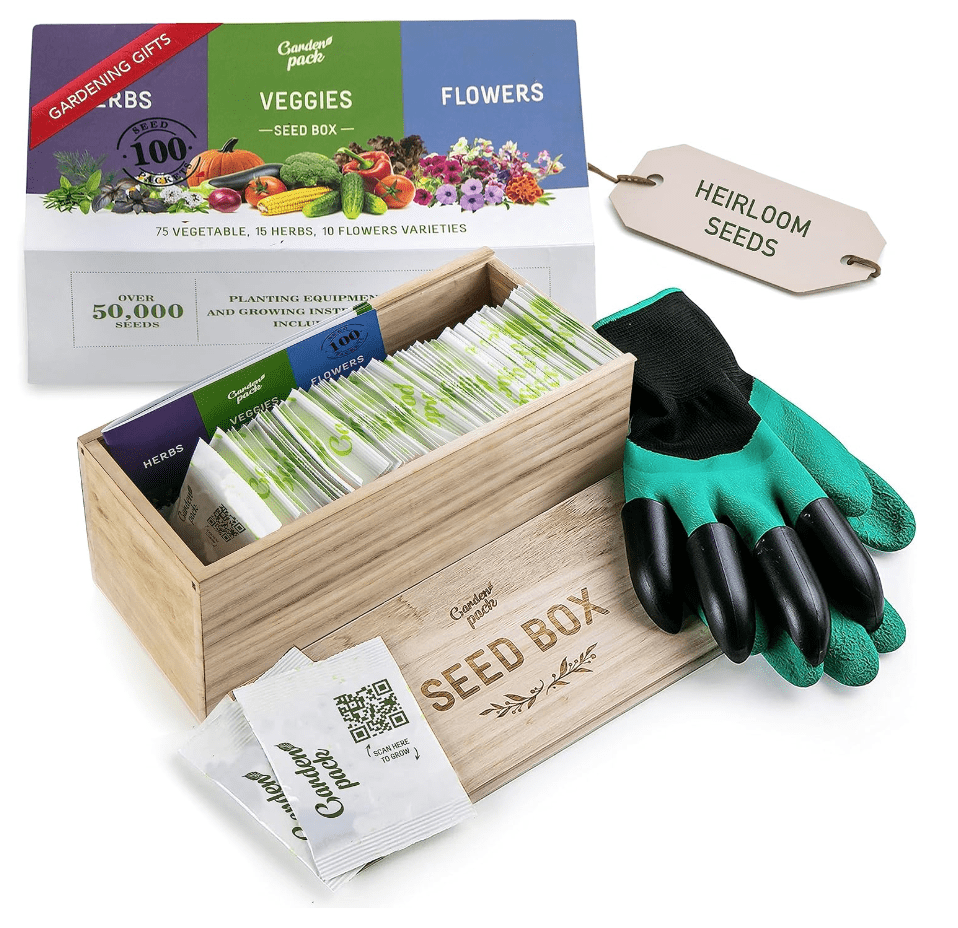
However, if you’re interested in the process of growing your own herbs from scratch, you can purchase a Grow Your Own Herb Kit that contains everything you need to grow your own variety of herbs.
Additional tips and considerations to keep in mind for your DIY herb box
Sunlight – Most herbs prefer full sun, so place your herb box in a location that receives at least 6-8 hours of sunlight per day. However, some herbs, like mint and parsley, can tolerate partial shade.
Watering – Herbs generally prefer well-drained soil, so be sure not to overwater them. Allow the top inch of soil to dry out between waterings, and water deeply when you do water to encourage deep root growth.
Spacing – When planting herbs in your box, give them enough space to grow and spread out. Overcrowding can lead to competition for nutrients and increased susceptibility to disease.
Fertilising – Herbs are not heavy feeders, but they can benefit from a light application of fertiliser once or twice during the growing season. Use a balanced, water-soluble fertiliser diluted to half strength.
Pruning – Regularly prune your herbs to encourage bushier growth and prevent them from becoming leggy. Harvesting regularly will also promote fresh growth and keep your herbs productive.
Pests and Diseases – Keep an eye out for common pests like aphids, spider mites, and whiteflies, as well as diseases like powdery mildew and fungal infections. Remove any affected leaves or plants promptly to prevent spread.
Companion Planting – Consider companion planting to help repel pests and attract beneficial insects to your herb box. For example, planting marigolds or lavender alongside your herbs can help deter pests.
Harvesting – Harvest the herbs regularly to encourage fresh growth and maintain their flavour. Pinch or snip off leaves as needed, and avoid harvesting more than one-third of the plant at a time to ensure its continued health.
By keeping these tips in mind, you can create a thriving and productive herb box that provides you with fresh herbs for cooking, teas, and more throughout the growing season.
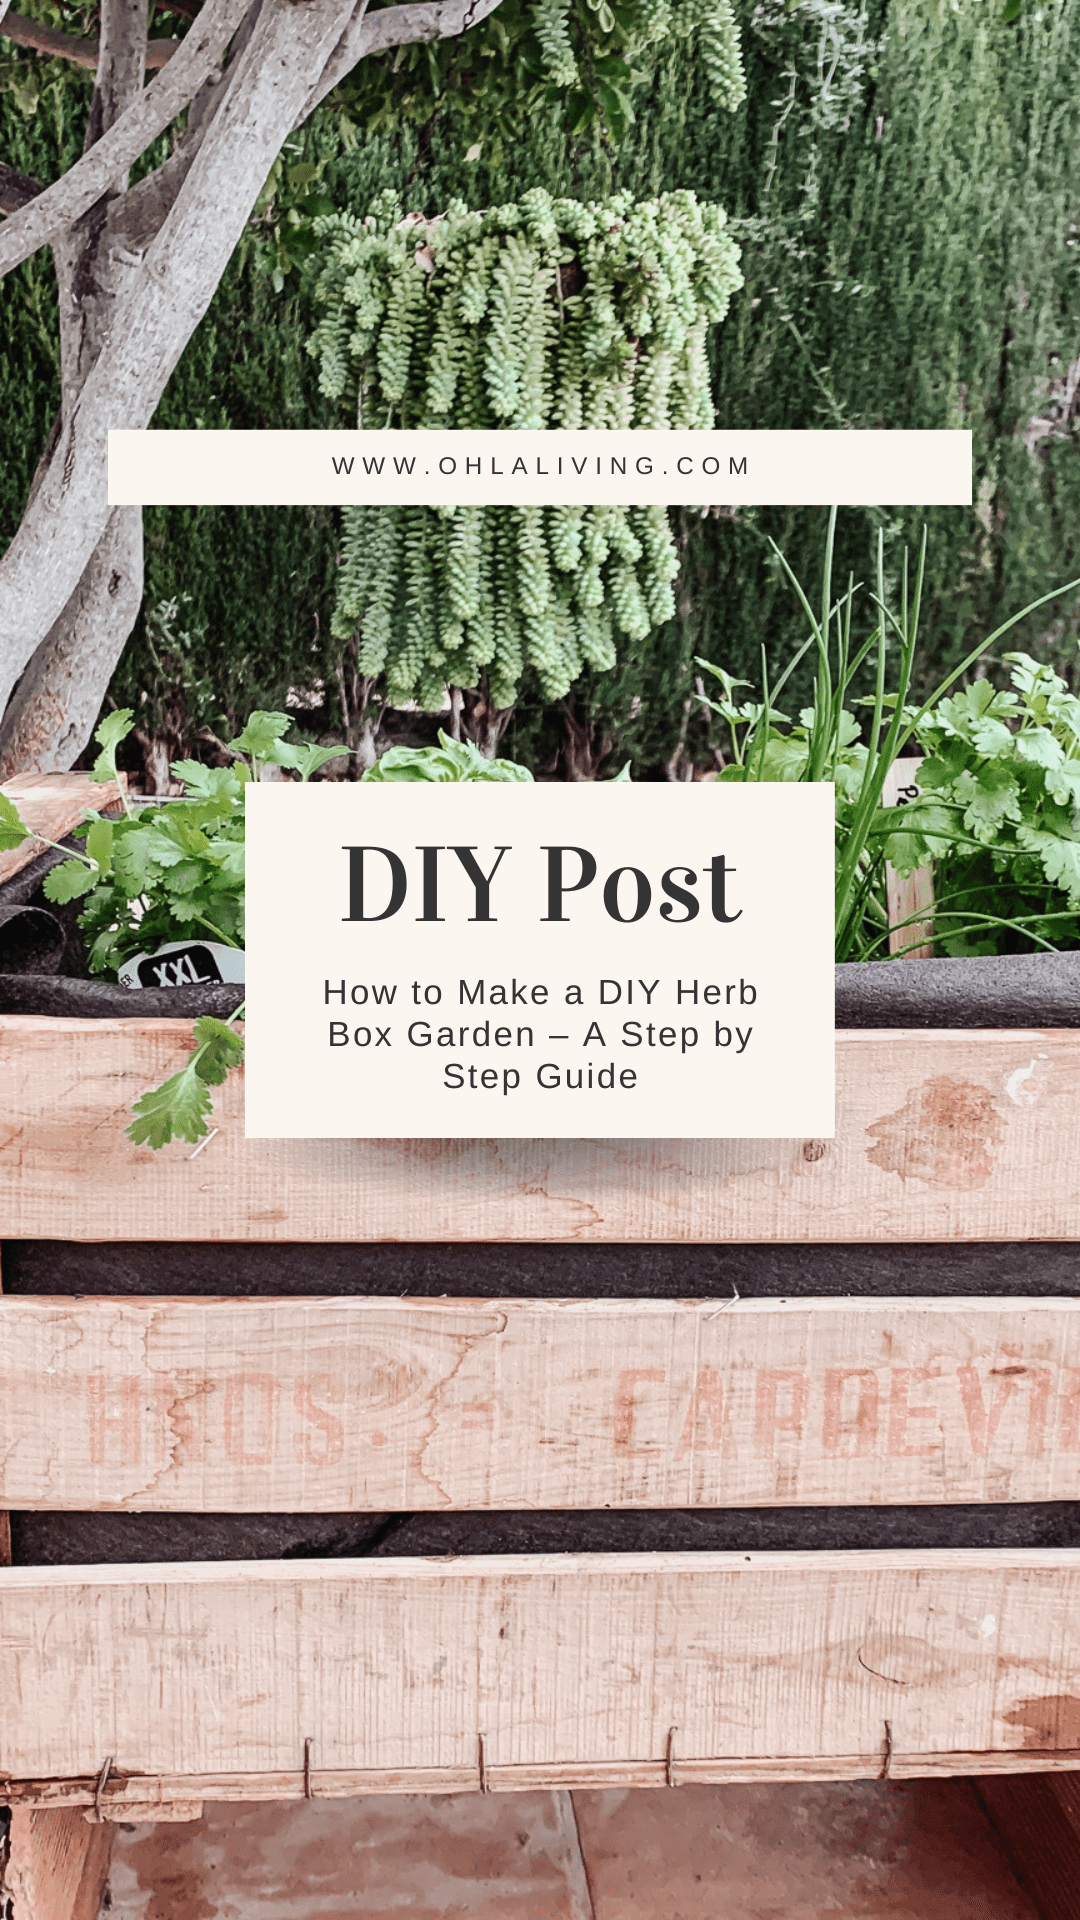
How to Make a DIY Herb Box Garden - A Step by Step Guide
Learn how to make your a DIY herb box garden, a great planter box if you have a small garden, balcony, or just fancy easy access to your favourite herbs. This herb garden is also perfectly suited for outdoor use.
Materials
- A vintage style wooden box (50cm x 33cm x 30cm)
- Fabric Liner
- 5 litre of compost
- 4 bricks of coconut fibre
- Fertiliser
- Herb seeds or herbs from the local store or garden centre
Tools
- Staple Gun
- Scissors
Instructions
- Measure the dimensions of your crate and cut the fabric liner accordingly to fit inside. Then, use a staple gun to secure the liner in place, ensuring a snug fit within your planter. If you plan to keep your herb box outdoors, consider double-lining it to provide extra protection and extend its lifespan.
- Place the coconut fibre bricks in a container filled with water. Allow them to soak for several hours or overnight. This will soften the fibres and make them easier to work with.
- Once the bricks are fully soaked, they will expand and soften. Use your hands or a garden tool to break up the bricks into smaller pieces. This will help loosen the fibres and create a fluffy texture.
- Place your coconut fibres inside the planter and mix it with potting soil in a ratio of about 1:1 or as desired. For my planter, I used a 3 kilo bag of compost with 4 coconut bricks. This combination will provide good drainage and aeration for your plants’ roots.
- Fill the planter with the mixture of coconut fibre and soil, leaving enough space for your plants. Press down gently to ensure the mixture is evenly distributed and firm.
- After placing your compost, water the the soil thoroughly with fertiliser (follow the manufacturers instructions) this will help settle the soil and coconut fibre mixture.
- Plant your herbs directly into the prepared mixture, following the planting instructions for each specific herb. Keep the soil consistently moist for the first few weeks but not waterlogged as your herbs establish themselves.
Recommended Products
As an Amazon Associate and member of other affiliate programs, I earn from qualifying purchases.

