In this post, I will be showing a step by step guide on how I transformed old wooden interior doors by using Frenchic furniture paint!
Let’s face it unless you buy a modern or renovated Spanish property, you might find yourself living in a house that still retains its old and dated decor, complete with terracotta painted walls, wooden interior trims and brass fittings. This type of style might be ideal for some people as it gives that authentic Spanish character, but personally, it’s not for me. Therefore when we moved into our old traditional Spanish chalet three years ago, we knew we had a lot of work to do.
We moved into a rent to buy property, so we were reluctant to do anything drastic just in case we decided not to buy the house at the end of the contract. For three years, we tried to ignore the awful decor. Hoping that if decide to buy, then we can start to add our own personal touches. Thankfully the years went by pretty quickly and last year we bought the house. At last, we don’t have to put up with the dated decor and can finally start making some major improvements. Hooray! 🎉

What Is Frenchic furniture paint?
I first heard about Frenchic furniture paint in a decorating group. I saw some of the things that people have upcycled using this paint. From leather sofas, stairs, tiled and wooden floors, to kitchen units! Of course, I was sceptical at first, how hard wearing is this paint? And is it truly safe to use on almost anything?
According to Frenchic, their products do not contain any harmful chemicals and have been tested to use even on children’s toys. Frenchic furniture paint is natural and it’s ready to use out of the tin. It’s odourless, free from VOC’s (volatile organic compounds) and toxins which are important when painting indoors. The best thing of all is that Frenchic furniture paint is self-priming and a tin of 750ml covers a large area!
Having seen the impressive results that people have shown in the forums, I finally bit the bullet and bought a tin from Frenchic Paint Spain. FrenchicPaint is located in Finestrat, and they allow the collection and delivery of Frenchic products here in Spain. Ordering through their website is super easy, and you can also contact them through their Bonita Chic Page. Sue is very friendly and processed my order as soon as possible, I received my tin of paint within 2 days!
Pick A Frenchic Shade
After loathing our interior doors for 3 years it was finally time to do something about it! As I haven’t used chalk paint before, I was a little anxious about whether it will do the job. Is it really going to transform this eyesore into something amazing?! Well, let’s find out…
It was difficult to pick a colour from the range as I loved them all! But I had to be careful not to be too adventurous with my colour choice. What about if I hated it? So, I decided on a more traditional colour and chose ‘Dazzle Me’ from the Al Fresco Range.

The Al Fresco Rance is designed to be durable and weatherproof. It’s suitable to use on wood, laminate, UPVC, composites and metal. It’s also self-levelling, meaning little to no brush marks. Not only that it can be used to paint garden furniture but you can also use it on your kitchen cupboards and can withstand humidity and general wear and tear! I’ve even seen people use it on their stairs and tiled floors.

Choose Your Brushes
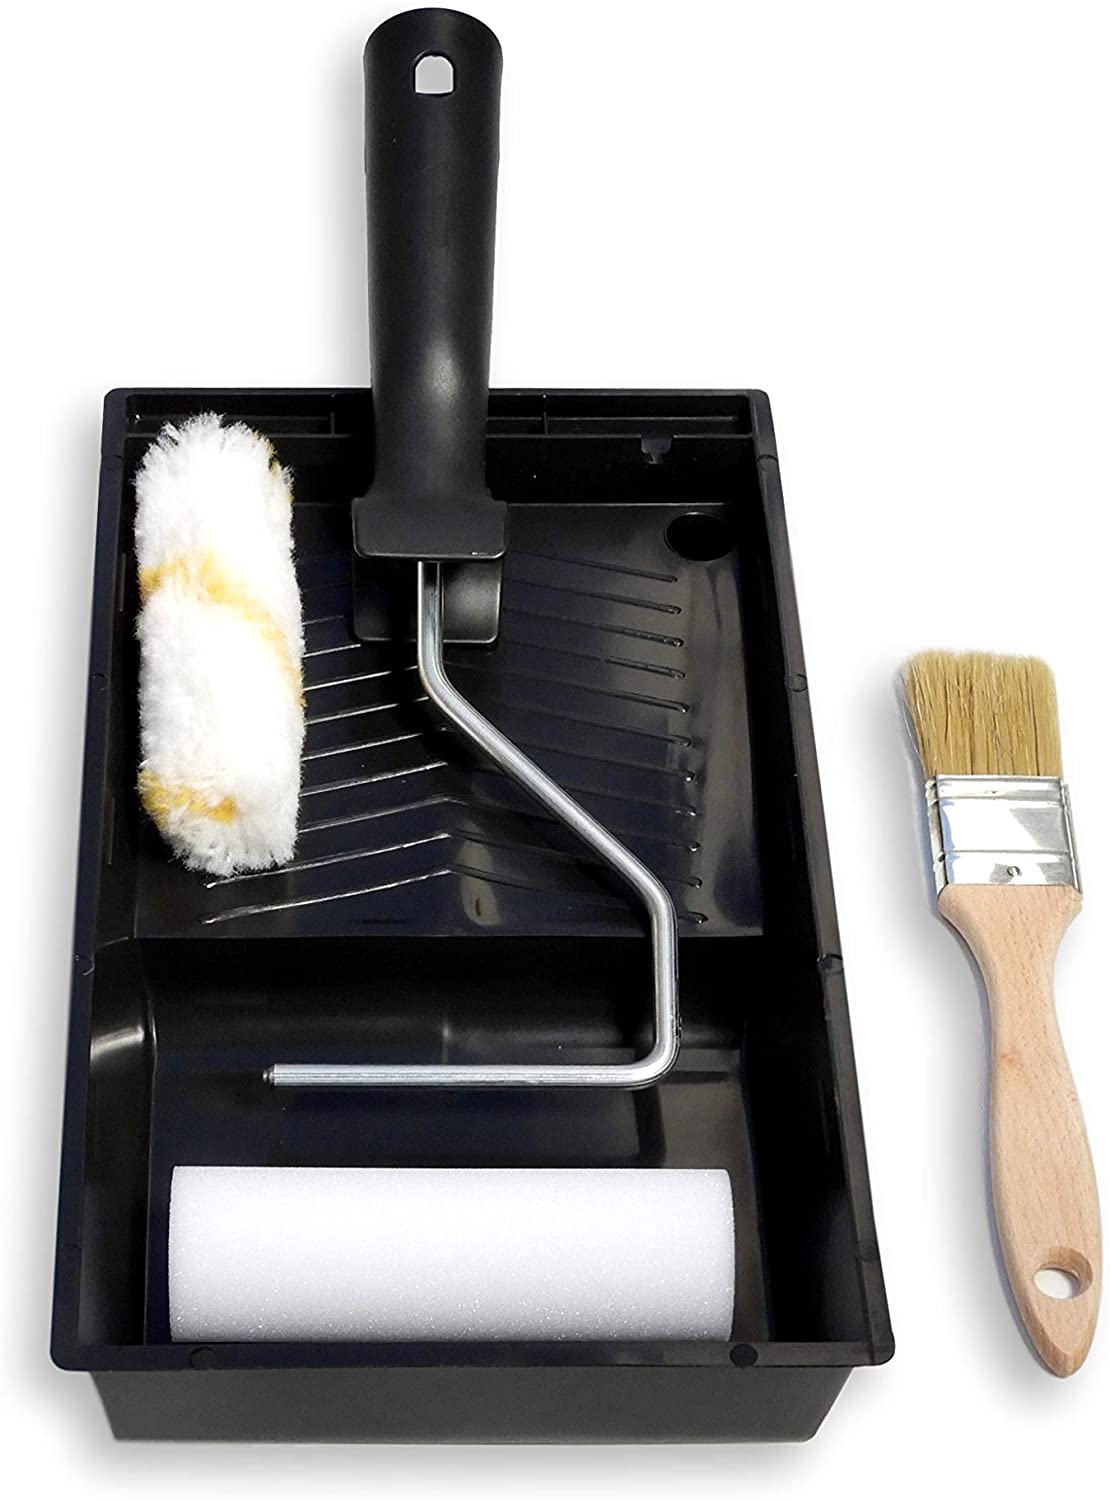
Frenchic also offers a wide range of brushes to use for your project. While they recommend using their brush, I used a foam roller for the majority of the work and use a round brush to get to the corners and hard to reach places.
Sand the door edges
To avoid your door from sticking you will need to sand the top and sides of your door. Do this by running a hand sander across the top and sides. If you don’t have an electric sander, you can use a sanding block or even a piece of sanding paper.
Preparing The Doors
Now that I’ve chosen my paint and brushes it’s time to prep the doors!
One of the best things about Frenchic paint is that you don’t have to sand your surface or use a primer. Just make sure that it’s clean and dry!
Before you start painting it’s important to make sure that the surface is free from dirt and grease. Clean it well with sugar soap, and wipe down the doors until the water in the bucket runs clear. This ensures that the paint adheres to the surface and the paint will stand the test of time. Taking time to prep also makes it easier for the paint to absorb more evenly across the surface.
Tape Around The Door
Once your door is dry, it’s time to tape around the door and areas where you don’t want to get paint on. At first, I was too keen to get painting so I didn’t bother with removing the door handles. But I soon found out that it was very fiddly to paint around. I’d recommend taking the door handles off which I did on the rest of the doors to achieve a cleaner finish.
Painting The Door
This stage can be a little scary. The first coat should be applied lightly enough to cover the door. This is the moment when you start to think ‘What have I done?!’. But don’t panic, slowly build up the layers and it will get better I promise!
Once the first coat is done, apply the second coat from where you started in the beginning. At this stage, you will see that the paint has started to even out.
Once the second coat is done I left it to dry for over 1 hour. After 1 hour, I noticed that I could still see some patchy areas, so I added another layer to make sure everything was covered evenly.
Remove The Tape & Voila!
Be careful not to leave the tape on for too long, taking it off when the paint is completely dry can chip the edges. As you can see below, those awful doors have been transformed. It looks like we have new frames and doors. All this for only €25.00!
Old Door Make Over Using Chalk Paint

Why replace old and tired doors? Transform them by using Frenchic chalk paint!
Materials
- 750ml Frenchic chalk paint
- Masking tape
- Sugar soap (for cleaning the door)
Tools
- Sander or sanding block
- Small foam roller
- Medium chalk paint brush
- Screwdriver (if you want to remove the door handles)
Instructions
- Prepare your door by sanding the top and sides. This step will avoid your door from sticking after you've painted.
- Remove the door handles or the door from its frame. This is completely up to you.
- Mix sugar soap with a bowl of warm water (follow manufacturers instructions).
- Clean the doors with the sugar soap solution until you're satisfied it's free from dust and dirt. Allow drying fully before painting.
- Place the masking tape around the areas that you don't want to paint.
- Put about 1/3 of the paint in your paint tray and begin painting the door. I usually trim around first.
- It's important that you layer your paint thinly at this stage even if it looks ugly! I promise it will get better.
- It's important to wait for the paint to dry before applying another coat. I left mine for an hour.
- The number of coats depends on how dark your door is. Mine took 3 coats.
Recommended Products
As an Amazon Associate and member of other affiliate programs, I earn from qualifying purchases.
Final Thoughts
It was my plan to completely replace the door frames and doors, but after calculating how much it would cost, I started to look for alternatives. Painting them was one of the options, but I wasn’t sure about what paint to use or whether they would last or look nice enough to suit the decor that I had in mind.
The things that attracted me to Frenchic is that I didn’t have to sand and prime. Doing this extra work seem so laborious. And to be honest, with work and family duties, I just didn’t have the time. Discovering Frenchic furniture paint was a godsend and after seeing how people have upcycled their old and tired furniture I knew that I had to give it a go. What’s the worst that can happen right?
I found the paint very easy to apply, a tin of 750ml goes a long way. It covered 3 doors, front and back and the frames too! It has certainly converted me to a Frenchic fan and I cannot wait to try other colours and do the rest of our home! If you want to find out more about how to use this paint and see what people have done, check out the Frenchic Fan Forum on Facebook, I’m sure you will be converted too!
I hope you found this post useful and it encourages you to try Frenchic on your future upcycling projects. But for now, excuse me while I go and stare at my brand new doors 😍.
All thoughts and opinions expressed in this post are my own and have not been influenced by Frenchic. I was not compensated in any way by writing this post. For more info read the t&cs


