*** Some of the links in this post are affiliate links. This means if you click on the link and purchase the item, I will receive an affiliate commission at no extra cost to you. All opinions remain my own. ***
Now that we are in this never-ending lockdown, I thought it would be a great idea to start projects that have been on my ‘to-do’ list starting with this wooden log succulent planter. I have seen these planters for sale in home decor shops, but have always thought that I can do much better and way cheaper! Why pay €€’s for something you can do yourself? All you need is a decent size wooden log and a bit of imagination right?
Firstly, let me put it out there that I’m not an expert in gardening, and I’ve only started to learn ‘how to garden’ about 5 years ago. Living in Valencia means that we are lucky enough to have a generous amount of sunshine and mild winters so it’s a perfect place to grow a wide variety of plants. And since we have moved into our house, I’ve been attempting to start new outdoor projects to transform the outdoor space to something more to our taste.
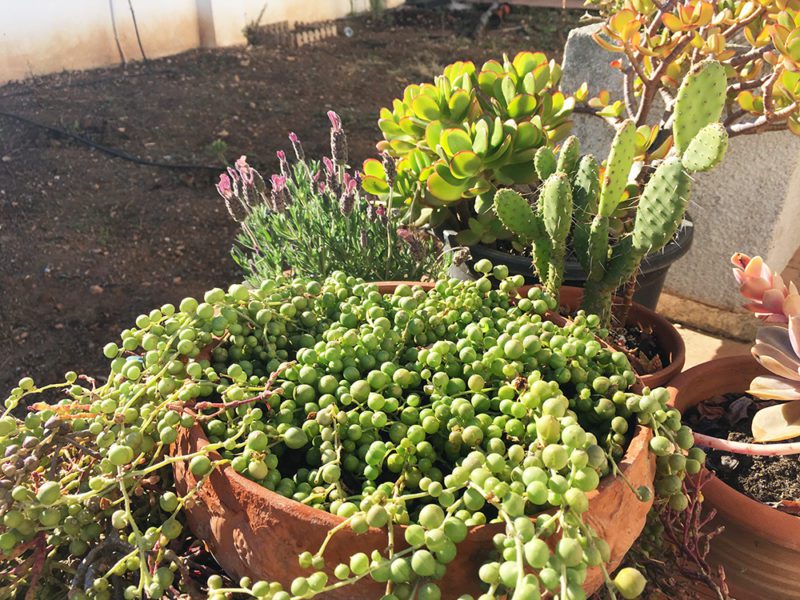
Our Garden
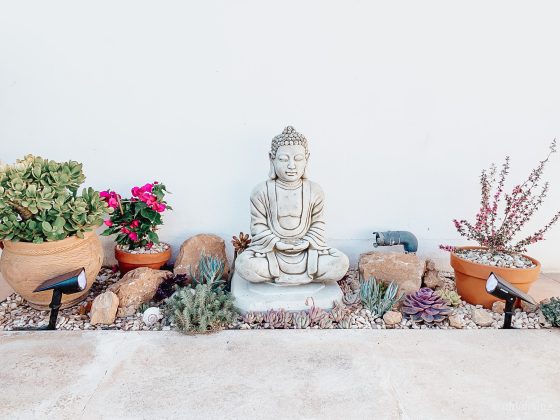
I LOVE Boho and Mediterranean style gardens and have even posted my Andalusian inspired wall planter tutorial, a couple of years ago. We also have a reasonably large garden around 750m², so trying to do some DIY in our free time is taking longer than expected. But now with lockdown firmly in place, I saw this as an opportunity to finally get these little jobs started. So here is my second DIY garden tutorial, and I hope you find it useful and it’ll inspire you to re-create these charming wooden planters for your succulents.
DIY Wooden Log Succulent Planter
How To Make A Wooden Log Succulent Planter
I promise this project is easy to make. All you need is a decent size wooden log, carving tools, compost and a few succulents. You don’t even have to be perfect in carving the holes. I wanted mine to look rustic, so I went straight in there with carving chisels and a hammer.
The size of the log that I used is around 94cm (height) and 15cm width (on the widest part). It’s deep enough to hollow out and also wide enough to have a reasonable size hole to plant my succulents in.
Choose A Suitable Log
We live amongst orange fields, which means that during springtime we find a lot of wooden offcuts. Once the farmer has harvested the oranges, the trees are then trimmed. We usually find the orchard littered with different size of logs and branches.
Choosing the type of wood for your succulent planter depends on your preference. Ideally, choose a log that already has holes in them. This makes your planter a lot more authentic. Make sure to check your log is free from bugs, such as woodlice, termites or carpenter ants. This avoids any nasty surprises and ensures that your log will stand the test of time.
Hollowing Out Your Log
Of course, you will need some reliable tools to hollow out your log. If you are working with a large piece of wood, then I would recommend that you use a drill with suitable attachments specifically for boring holes. Otherwise, use a manual carving tool which I did. It’s a lot more precise and it gives a more natural result.
Start with marking the area that you want to carve. You can either mark it with white chalk or quickly go around it using a sharp tool or a knife. Leave out at least 3-4 inches of wood at the bottom of the planter, and at least 1-2 inches around the edges. Also do not forget to drill drainage holes at the bottom of your planter.
Preparing your compost
There are a lot of succulent potting mixes that you can buy. Composts for succulents are usually fast draining and contain organic and inorganic materials. You can also create your succulent composts by mixing normal compost, sand/grit and pearlite.
Choosing your succulents
Of course, this is a personal choice. However, bear in mind which succulents are better together aesthetically and pick a combination that has similar care and light needs.
Succulents aftercare
The best thing about succulents is that they hardly need any care at all. In general, succulents are fine being left alone after transferring to your new log planter. This is a safer option than watering immediately. Mist your plants after planting them, do not be tempted to water them straight away or you will risk rot. The plants will need to be established in their new home for a week or so. 🌵
That’s It!
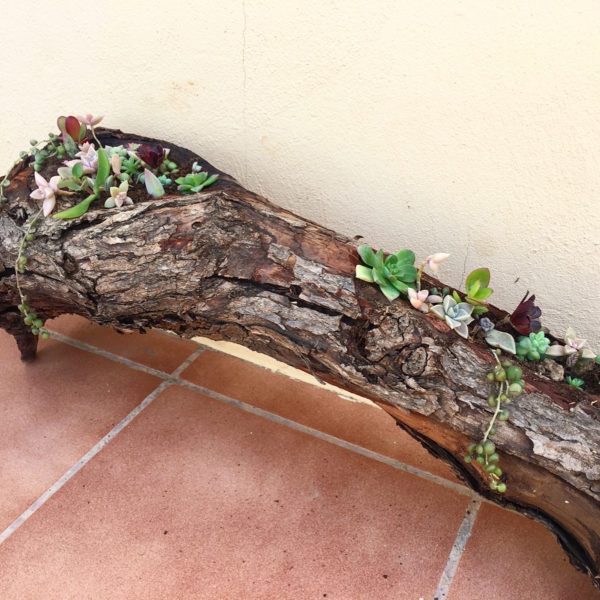
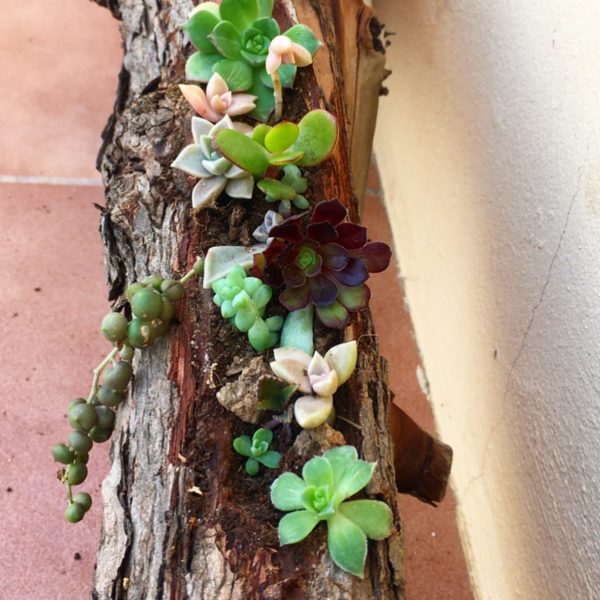
So there you go, that’s the end of how to create your wooden log succulent planter. Honestly, you cannot go wrong with this project and the finished product looks amazing. A definite talking point! Once your plants start to grow then it will look even more natural.
Keep your plants misted twice a week, spraying the soil as well as the leaves. If you have a large log planter, then it’s best to use a watering can. But remember, succulents thrive when left alone, that’s why they are suitable for inexperienced or lazy gardeners like me! 🙂
DIY Wooden Log Succulent Planter

An unusual feature to display in your garden.
Materials
- medium size log
- variety of succulent plants
- succulent potting mix
Tools
- drill with hole saw attachments
- carving chisels
- wooden mallet or hammer
Instructions
- Choose a suitable log for your planter.
- Decide how you want to use the planter, you can display it vertically or horizontally.
- Mark the area you want to hollow out. You can do this with white chalk or a sharp tool or knife.
- Start carving and leave out at least 7 to 10 cm of wood at the bottom of the planter, and at least 2.5cms to 7.5cms around the edges.
- Once you are satisfied with the depth of your planter, drill several holes at the bottom for drainage.
- Add the compost in the planter.
- Plant your succulents and mist generously.
Notes
- The wood used in the project measures 94cm (height) and 15cm width on the widest part.
Recommended Products
As an Amazon Associate and member of other affiliate programs, I earn from qualifying purchases.
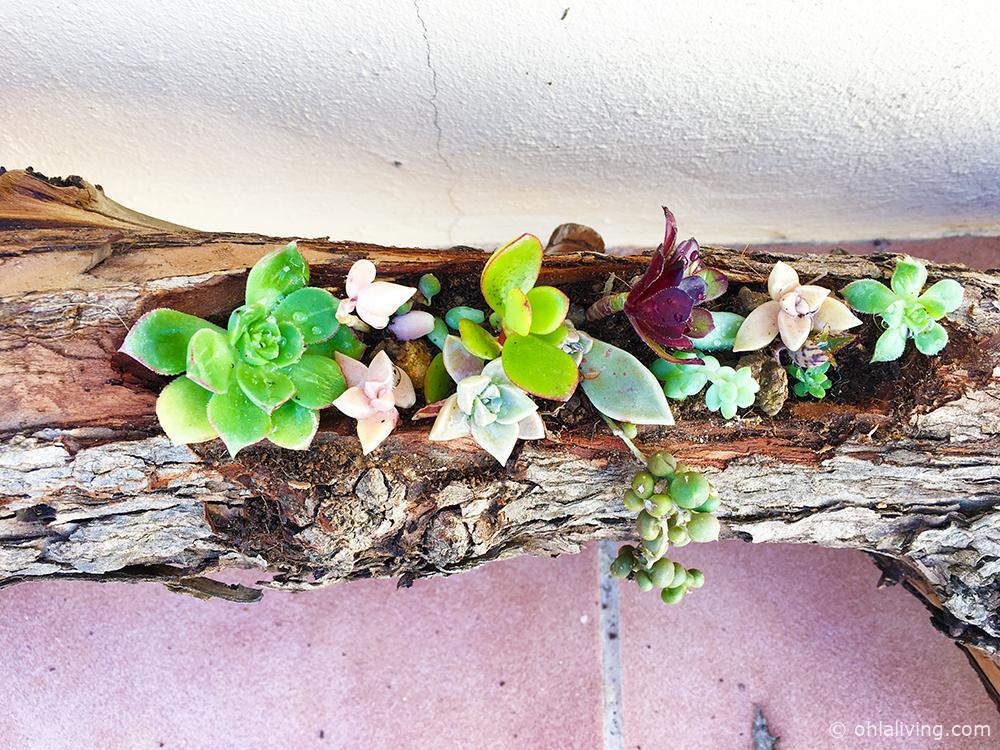
My Finished Wooden Succulent Planter
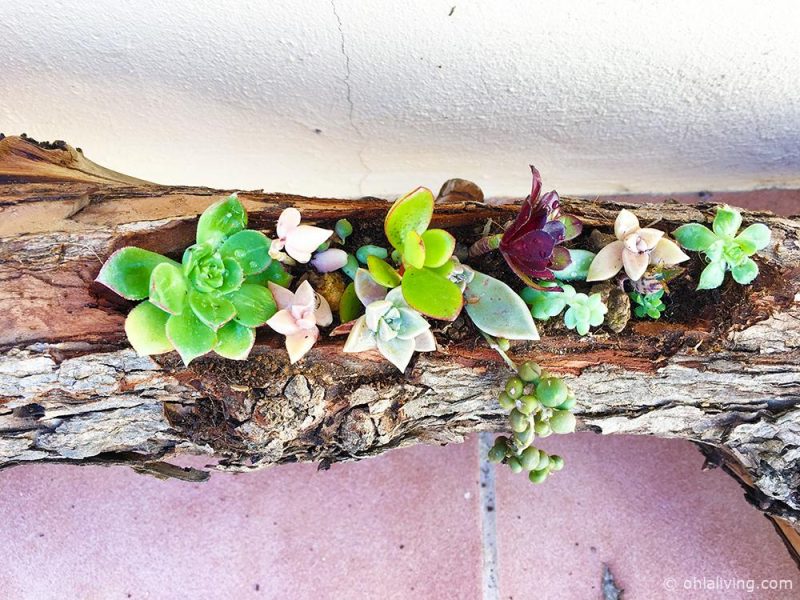
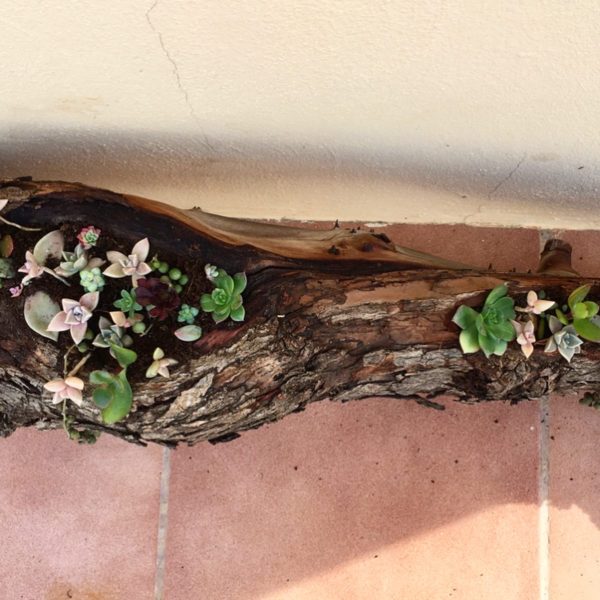
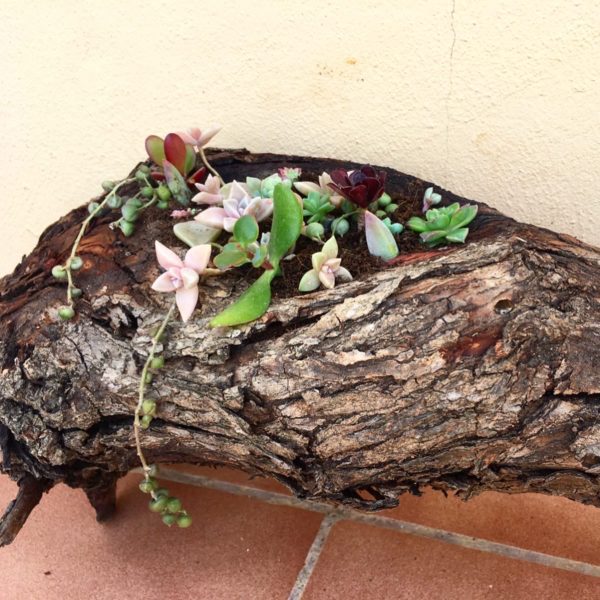
So here is my finished project, a beautiful and rustic wooden log planter that sits just outside our BBQ area. And even though my husband was a little miffed that I used one of his firewood, he was soon impressed with the end result.
What do you think? Will it inspire you to create something similar? Let me know if you do on the comments below!

